SVU-MK S-3 Sniper Rifles
Description
Sniper rifle designed for special forces. Some of the Zone’s wonders are better to watch from a safe distance. This beauty will help you to do just that.
Weapon Stats
Damage
80
Penetration
3
Rate of Fire
0
Range
4,500
Accuracy
1
Compatible Ammunition and Mods
!["7.62x54mm 7N1" icon](/assets/media/crop50/15/237926/t_inv_sm_amm_bulletbox_01_762x54_ss-34d9d41d.png)
!["7.62x54mm B-32" icon](/assets/media/crop50/15/237924/t_inv_sm_amm_bulletbox_01_762x54_ap-51e5976b.png)
!["7.62x54mm LPS" icon](/assets/media/crop50/15/237925/t_inv_sm_amm_bulletbox_01_762x54_fmj-90efcfcb.png)
!["High-Capacity SVU-MK S-3 Magazine" icon](/assets/media/crop50/15/237885/t_inv_icon_gunsvu_magincreased-65694f42.png)
!["PSO 4X Scope" icon](/assets/media/crop50/15/237896/t_inv_icon_ru_x4scope_1-344ae440.png)
!["Sniper Rifle Suppressor" icon](/assets/media/crop50/15/237904/t_inv_icon_ru_silen_3-df6613d6.png)
Upgrades
!["Enlarged Back Pad" icon](/assets/media/crop50/15/247596/iit_questitem_usb_upgrade-94289a0e-94289a0e.png)
!["Ergonomic Stock" icon](/assets/media/crop50/15/247601/iit_questitem_usb_upgrade-94289a0e-94289a0e.png)
!["Cheek Pad" icon](/assets/media/crop50/15/247615/iit_questitem_usb_upgrade-94289a0e-94289a0e.png)
!["Rubber Stock Rear" icon](/assets/media/crop50/15/247597/iit_questitem_usb_upgrade-94289a0e-94289a0e.png)
!["Rebalanced Stock" icon](/assets/media/crop50/15/247600/iit_questitem_usb_upgrade-94289a0e-94289a0e.png)
!["Polymer Handle" icon](/assets/media/crop50/15/247614/iit_questitem_usb_upgrade-94289a0e-94289a0e.png)
!["Balanced Handle" icon](/assets/media/crop50/15/247628/iit_questitem_usb_upgrade-94289a0e-94289a0e.png)
!["Finger Slots" icon](/assets/media/crop50/15/247603/iit_questitem_usb_upgrade-94289a0e-94289a0e.png)
!["Wrist Rest" icon](/assets/media/crop50/15/247633/iit_questitem_usb_upgrade-94289a0e-94289a0e.png)
!["Individual Adjustment" icon](/assets/media/crop50/15/247629/iit_questitem_usb_upgrade-94289a0e-94289a0e.png)
!["Rubber Layer" icon](/assets/media/crop50/15/247612/iit_questitem_usb_upgrade-94289a0e-94289a0e.png)
!["Automatic Two-Stage Gas Regulator" icon](/assets/media/crop50/15/247631/iit_questitem_usb_upgrade-94289a0e-94289a0e.png)
!["Polymer Parts" icon](/assets/media/crop50/15/247619/iit_questitem_usb_upgrade-94289a0e-94289a0e.png)
!["Adjusted Bolt Locking Lugs" icon](/assets/media/crop50/15/247602/iit_questitem_usb_upgrade-94289a0e-94289a0e.png)
!["Ergonomic Handguard" icon](/assets/media/crop50/15/247608/iit_questitem_usb_upgrade-94289a0e-94289a0e.png)
!["Tactical Foregrip" icon](/assets/media/crop50/15/247586/iit_questitem_usb_upgrade-94289a0e-94289a0e.png)
!["Laser Designator" icon](/assets/media/crop50/15/247588/iit_questitem_usb_upgrade-94289a0e-94289a0e.png)
!["Barrel Lock" icon](/assets/media/crop50/15/247632/iit_questitem_usb_upgrade-94289a0e-94289a0e.png)
!["Return Mechanism Sleeve Tightener" icon](/assets/media/crop50/15/247626/iit_questitem_usb_upgrade-94289a0e-94289a0e.png)
!["Modified Gas Block Geometry" icon](/assets/media/crop50/15/247627/iit_questitem_usb_upgrade-94289a0e-94289a0e.png)
!["Extra Barrel Rifling" icon](/assets/media/crop50/15/247622/iit_questitem_usb_upgrade-94289a0e-94289a0e.png)
!["Flash Suppressor" icon](/assets/media/crop50/15/247582/iit_questitem_usb_upgrade-94289a0e-94289a0e.png)
Interactive Map Locations
![Marker screenshot](/assets/maps/resize-x162/markers/unedited143521.jpg)
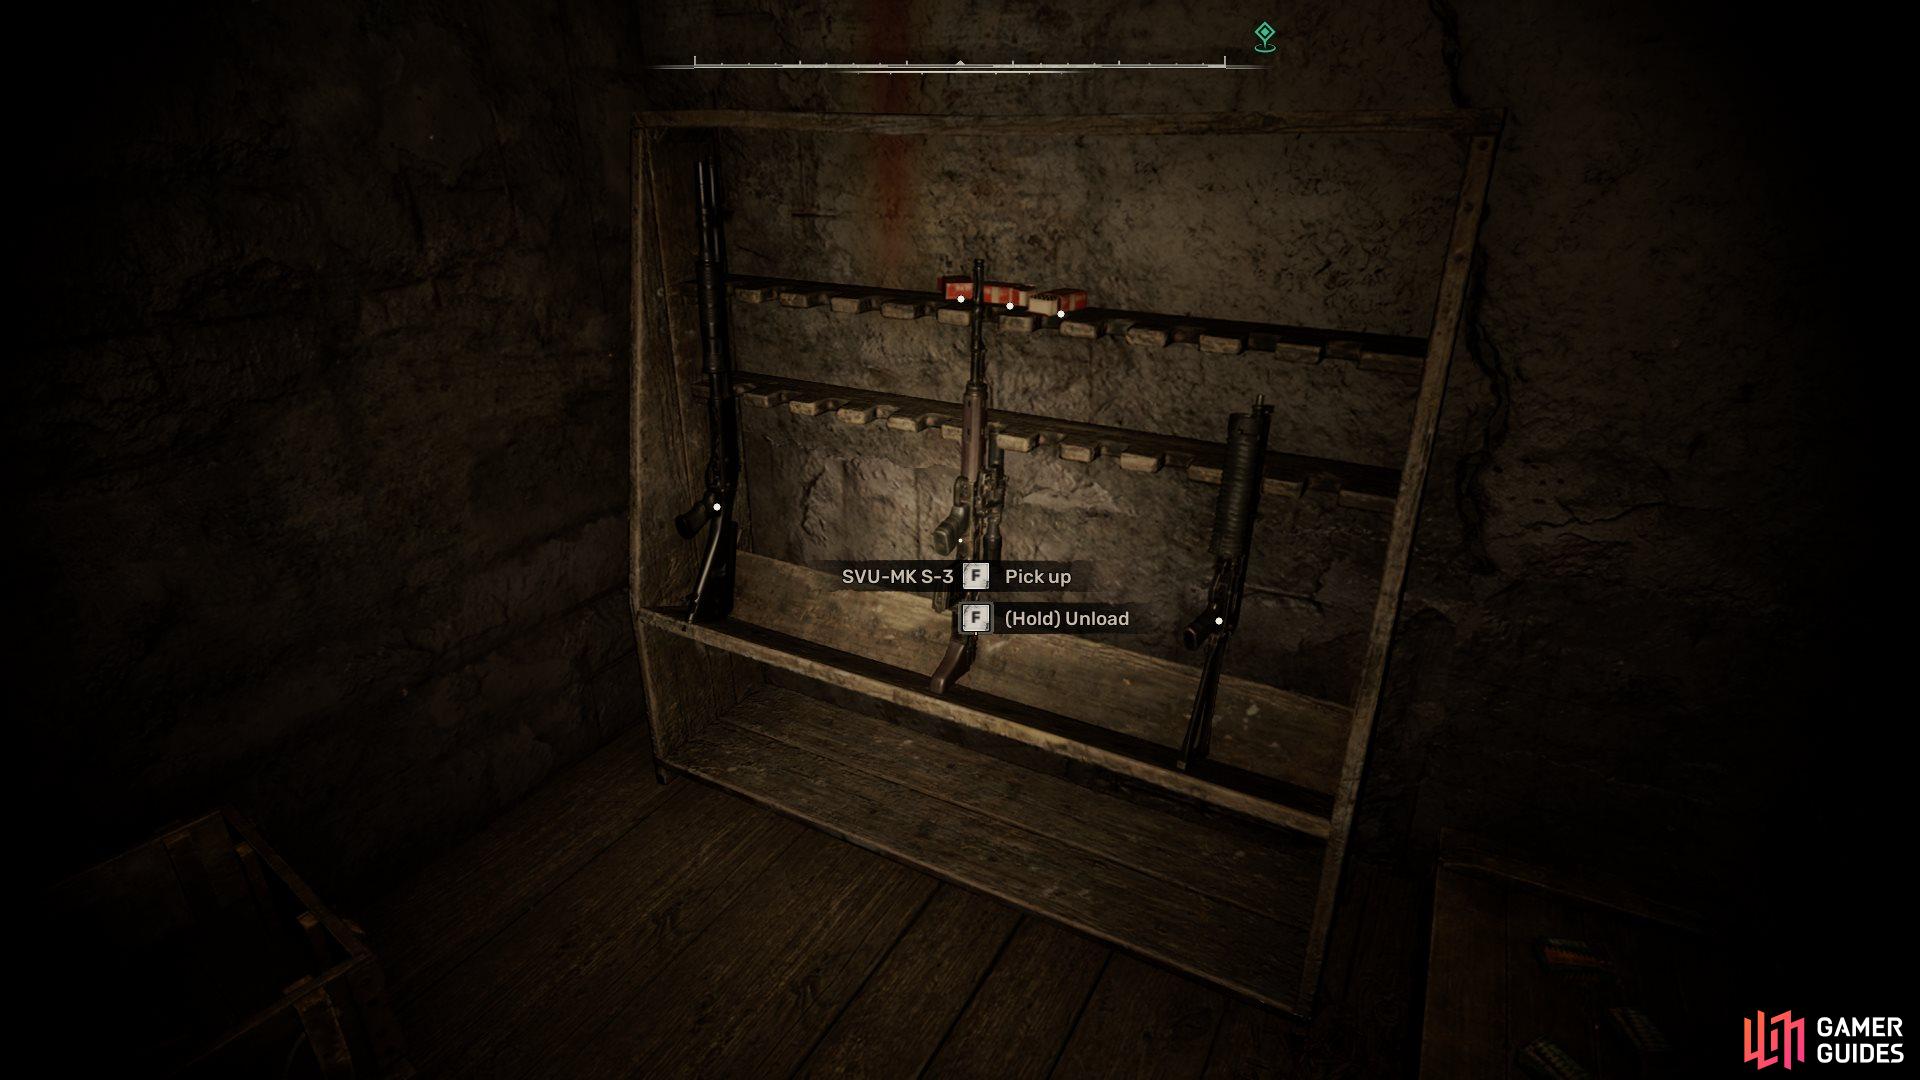
1. The Zone Map (New)
Inside the locked bunker. To figure out the code yourself, you’ll need to put together the digits found in these three notes:
- Note found on a body in the village
Note found on a body near the Marshes
Note found on a body inside the Poppers
To see the full code, scroll down.
.
.
.
.
.
.
240983
![Marker screenshot](/assets/maps/resize-x162/markers/unedited145220.jpg)
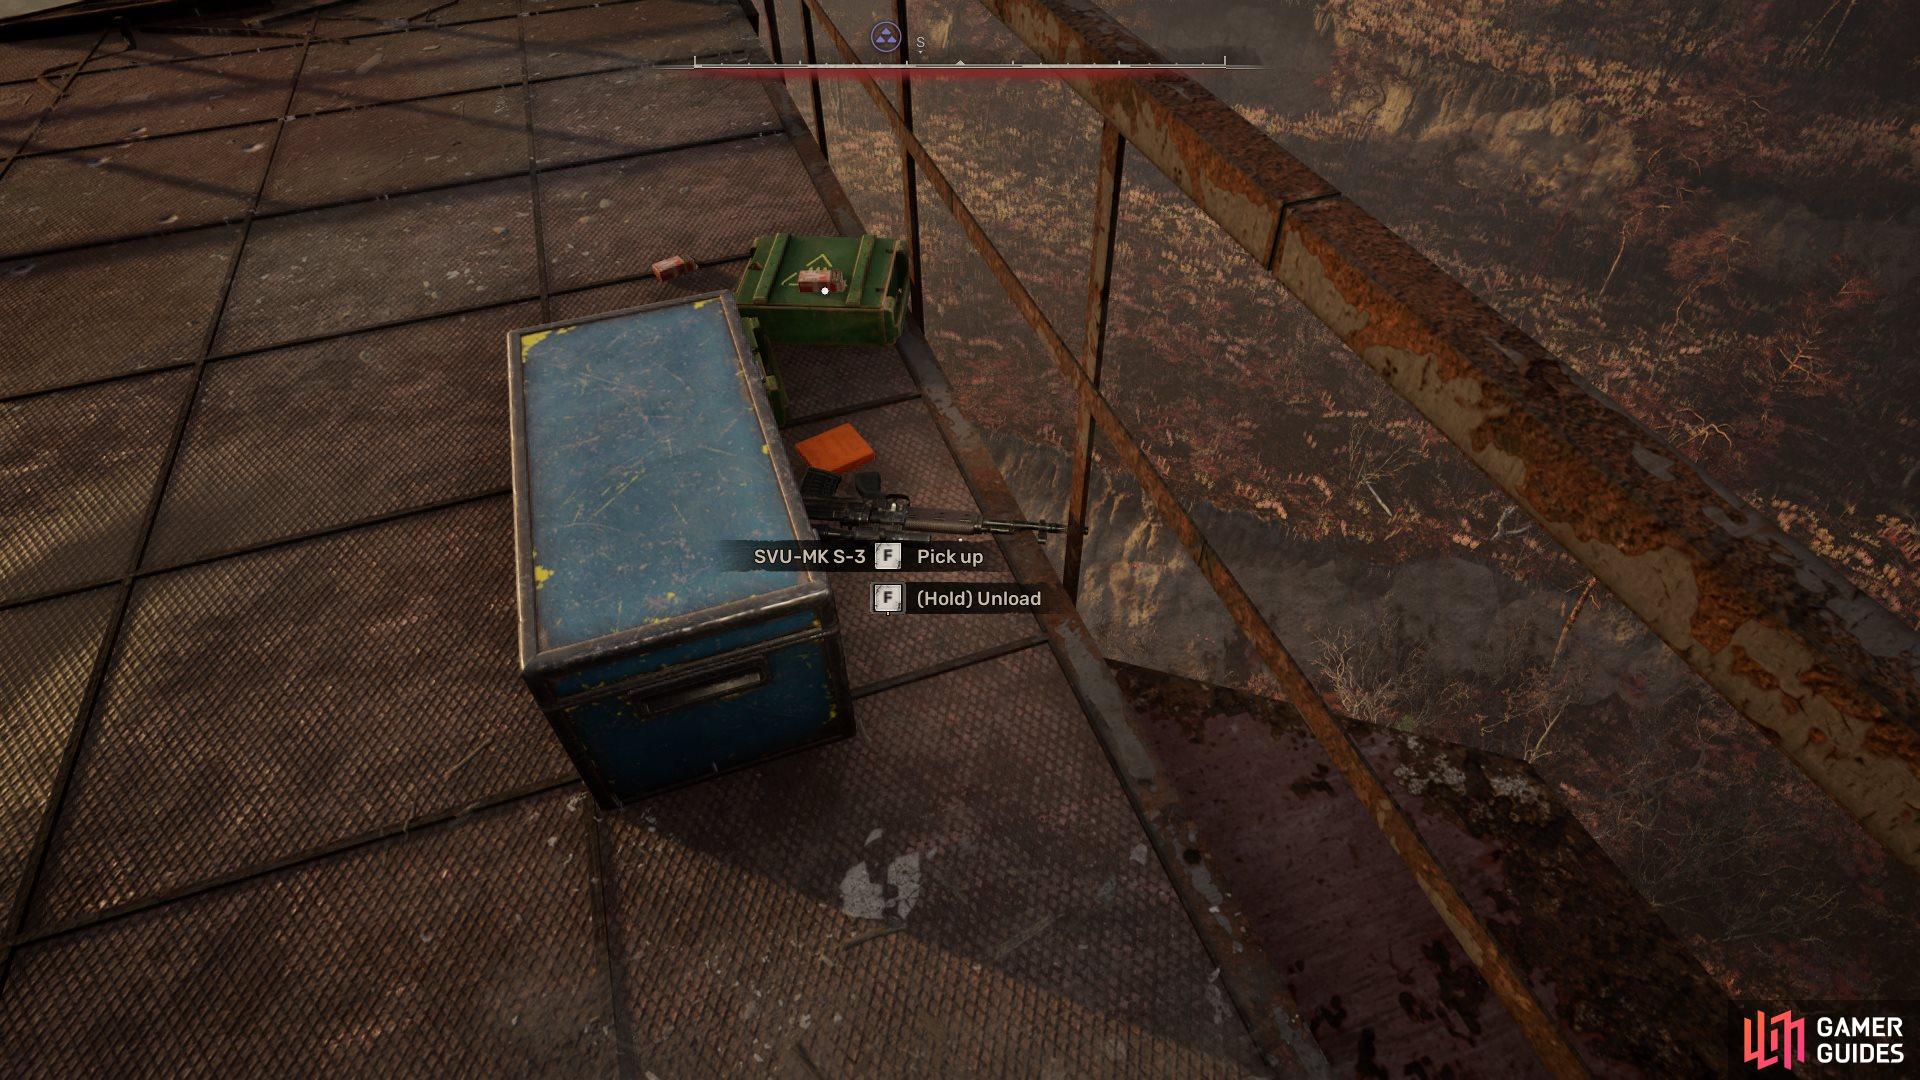
2. The Zone Map (New)
At the very top of the structure. To reach it, start by climbing the ladders and stairs in the middle, then make your way to the far eastern side of the structure. Walk carefully along the wind-anomaly-covered beams, use the bouncy anomalies to quickly cross the final gap, then fight off a swarm of rodents.
![Marker screenshot](/assets/maps/resize-x162/markers/unedited101219.jpg)
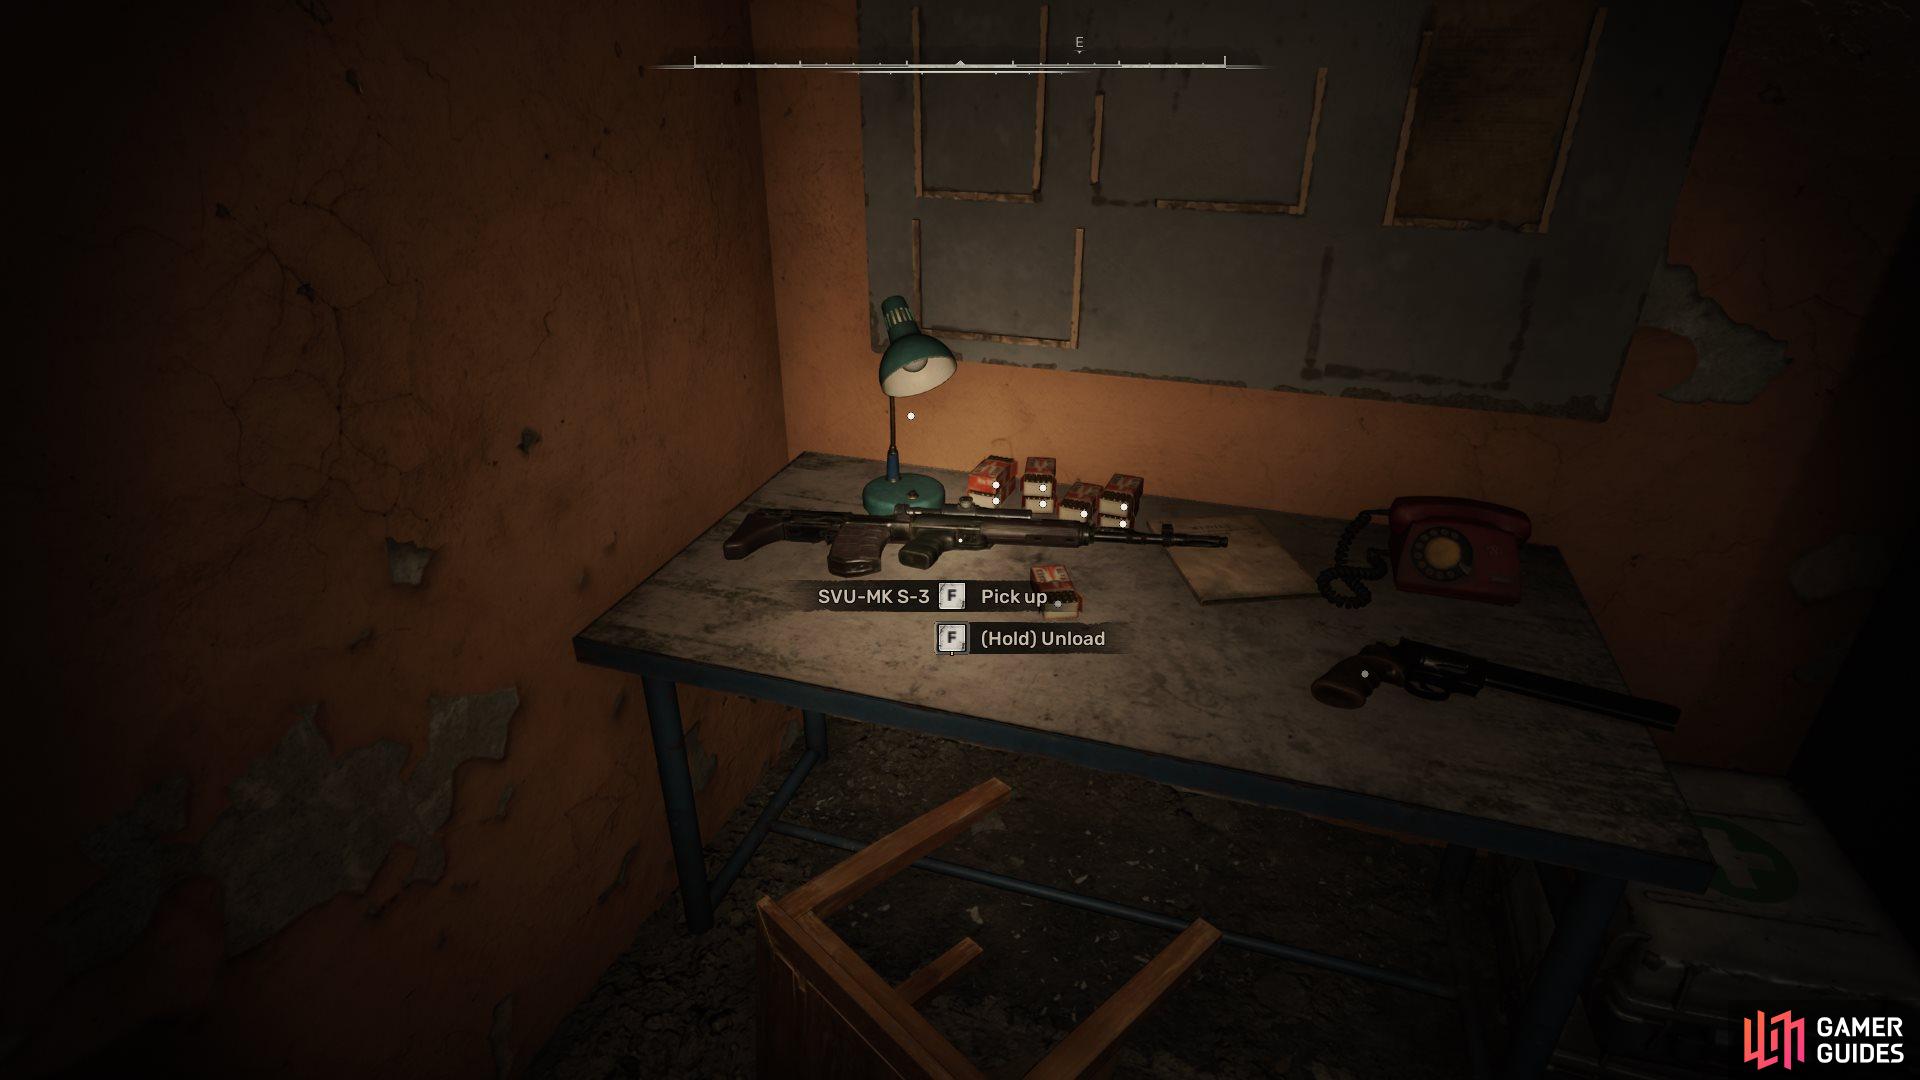
3. The Zone Map (New)
On a table, found soon after clearing out the underground base’s first large room and proceeding through a few corridors. Can only be accessed during a late-game main quest.
No Comments