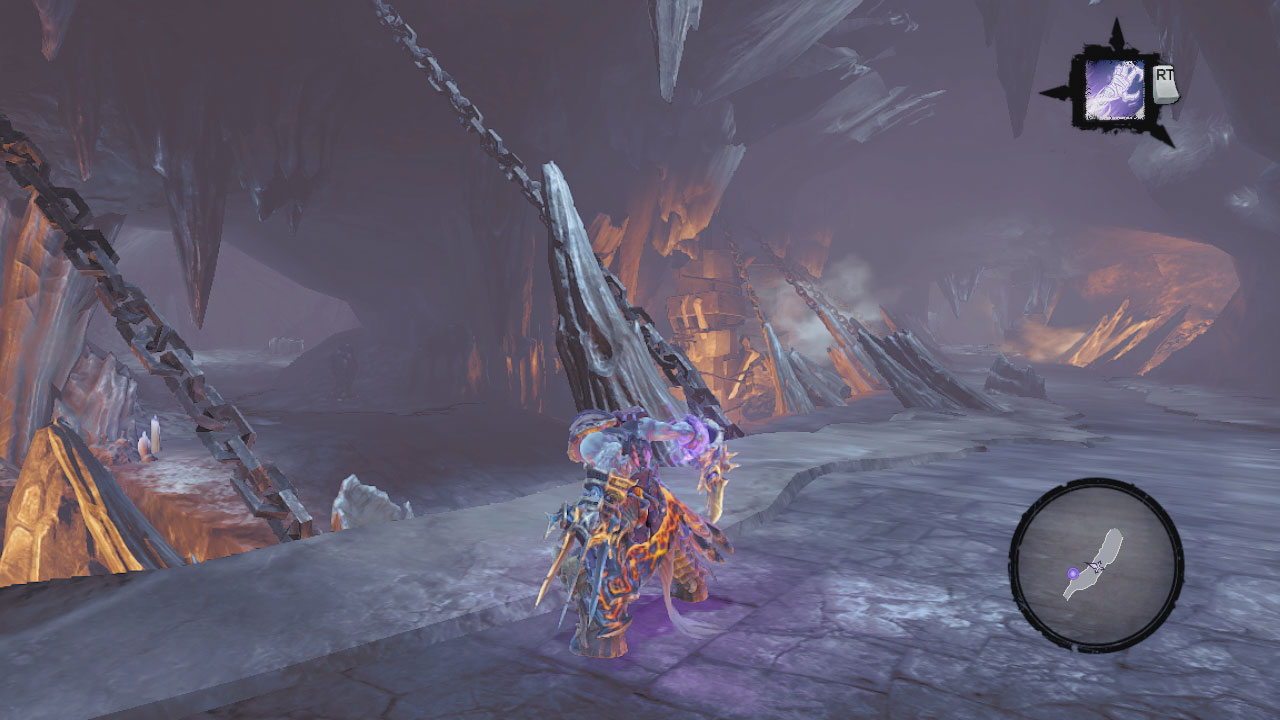
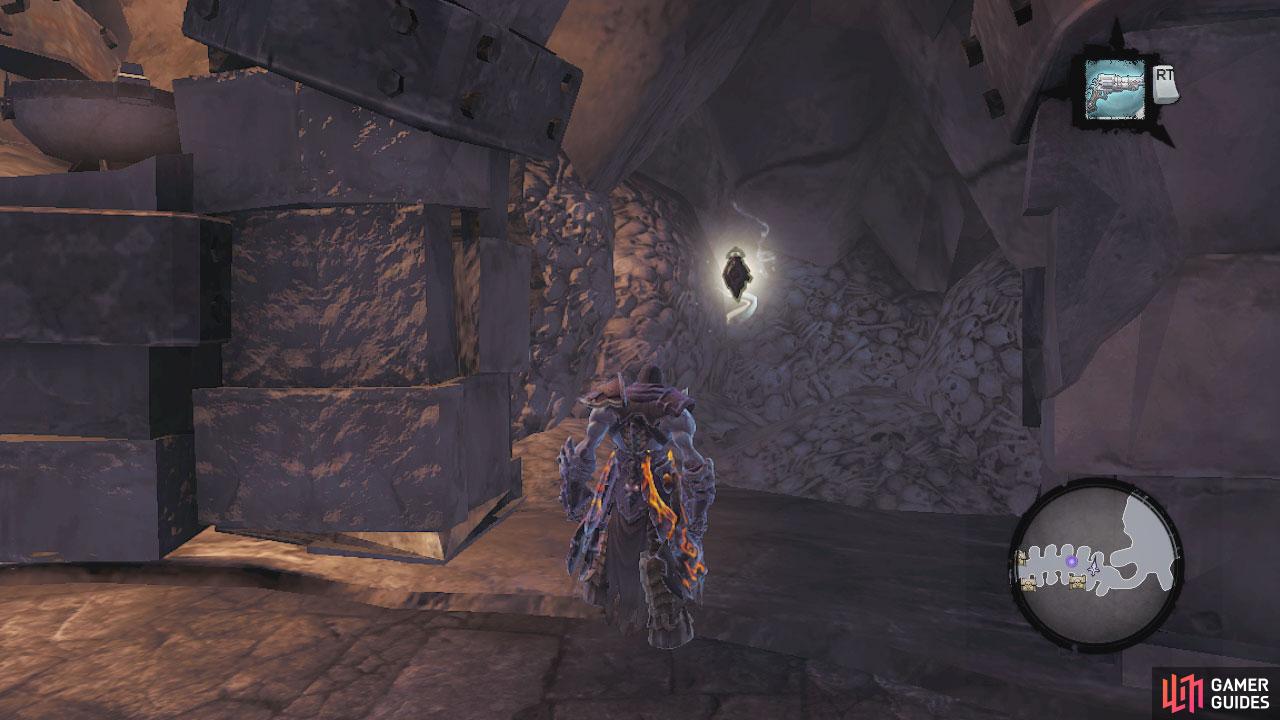
You can enter Bonerive through a small hole at the top of the central structure in the optional dungeon of Sentinel’s Gaze.
As you enter, kill the undead prowlers and stalkers that show up. You will see a pressure pad in the floor in front of a locked gate in front. Stand on the plate and wait for it to go all the way up and quickly run over and roll through the gate before it slams shut. Wall run across the gap here and kill
all the skeletons that spawn in the next room.
After things have settled, gab a bomb and hit the crystals in the southwest corner of the room for a chest and in the northeast corner to uncover a pressure plate. Walk up to the lowered gate at the very north of the room and enter soul splitter mode. Send clone 1 to stand on the pressure pad in the
alcove to the right and clone 2 to do the same in the alcove to the left. Wait for the gate to go all the way up before exiting to normal mode and rolling through before it comes crashing down again.
Follow the path around to the right for a chest and return to the main area and proceed north along the lower passage. Wallrun around the corner at the end. Kill all the enemies that appear in this area and have a look around, you’ll see another pressure plate gate to open. Look at the ramp. See the spike sitting out of the side near the top? There is a crystal on it to shoot for a Stone of Mystics.
$$$item 1522
Climb the ramp and grab a bomb from the alcove on the upper level here. Drop back down to the pressure plate door and use the bomb on the yellow crystals nearby. Enter here and you will notice a second pressure plate. Grab the chest behind it for the Dungeon Map. Head to the gate and enter soul splitter mode. Have the two clones activate the two pressure pads and when the gate is up high enough, return to normal mode and run through.
Enter the short alcove to the left immediately through the gate for a Boatman’s Coin and then proceed into the room proper. Kill the undead stalker and the skeletons that come to greet you and continue around the corner to the left. Follow the passage there, killing skeletons as you go and grab the chest as you go around the hairpin turn. Continue uphill until you reach a platform overlooking the previous room. Use death grip to swing across to the other side.
Kill the scarabs that appear here and look in the third room to the right for a Soul Arbiter’s Sacred Scroll . Continue to the end of the hallway to find a pressure plate and a gap with a second room beyond. Continue into the room corridor to the right and kill all the skeletons and scarabs that get in the way. Look in the last room to the right for a Boatman’s Coin .
Continue into the next room and destroy the scarab mounds. Loot the two chests and then go to the gate. Enter soul splitter mode and have your clones activate the pressure plates as we’ve done previously. Exit soul splitter and enter the hallway. Follow it to the end and exit into the corridor to the left.
Follow this path around, killing scarabs as you go until you exit into a large room. Here a scene will play showing a scarab hulk rocking up. You may also notice the three scarab mounds around the room. These will pump out an unlimited number of scarabs so try and destroy them before taking on the hulk. Once the hulk is dead, another two hulks will show up. Kill them.
Once everything is dead, loot the chest and go stand by the door at the far east of the room. Enter soul splitter mode and have your clones stand on the switches in the rooms either side of the main door. Return to normal and head through the door when it’s safe to do so.
$$$item 1614
Look in the first room to the right for a legendary item – Keen Talisman. The third room on the left has a chest in it. The fourth room on the left contains a Soul Arbiter’s Sacred Scroll and the final left and right rooms contain a chest each. Once you have done all your looting, continue into the circular room at the end of the hallway. Here you will find a chest and one of the Bloodless.
$$$item 1615


 Sign up
No Comments