
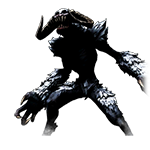
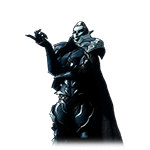
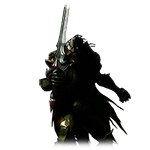
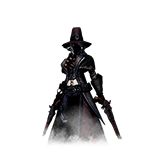
The V Blood Carriers are a major part of V Rising, killing them will not only get you new powers and skills, but you’ll also learn new recipes needed to progress. This page offers an overview on all V Rising Bosses and notes on them.
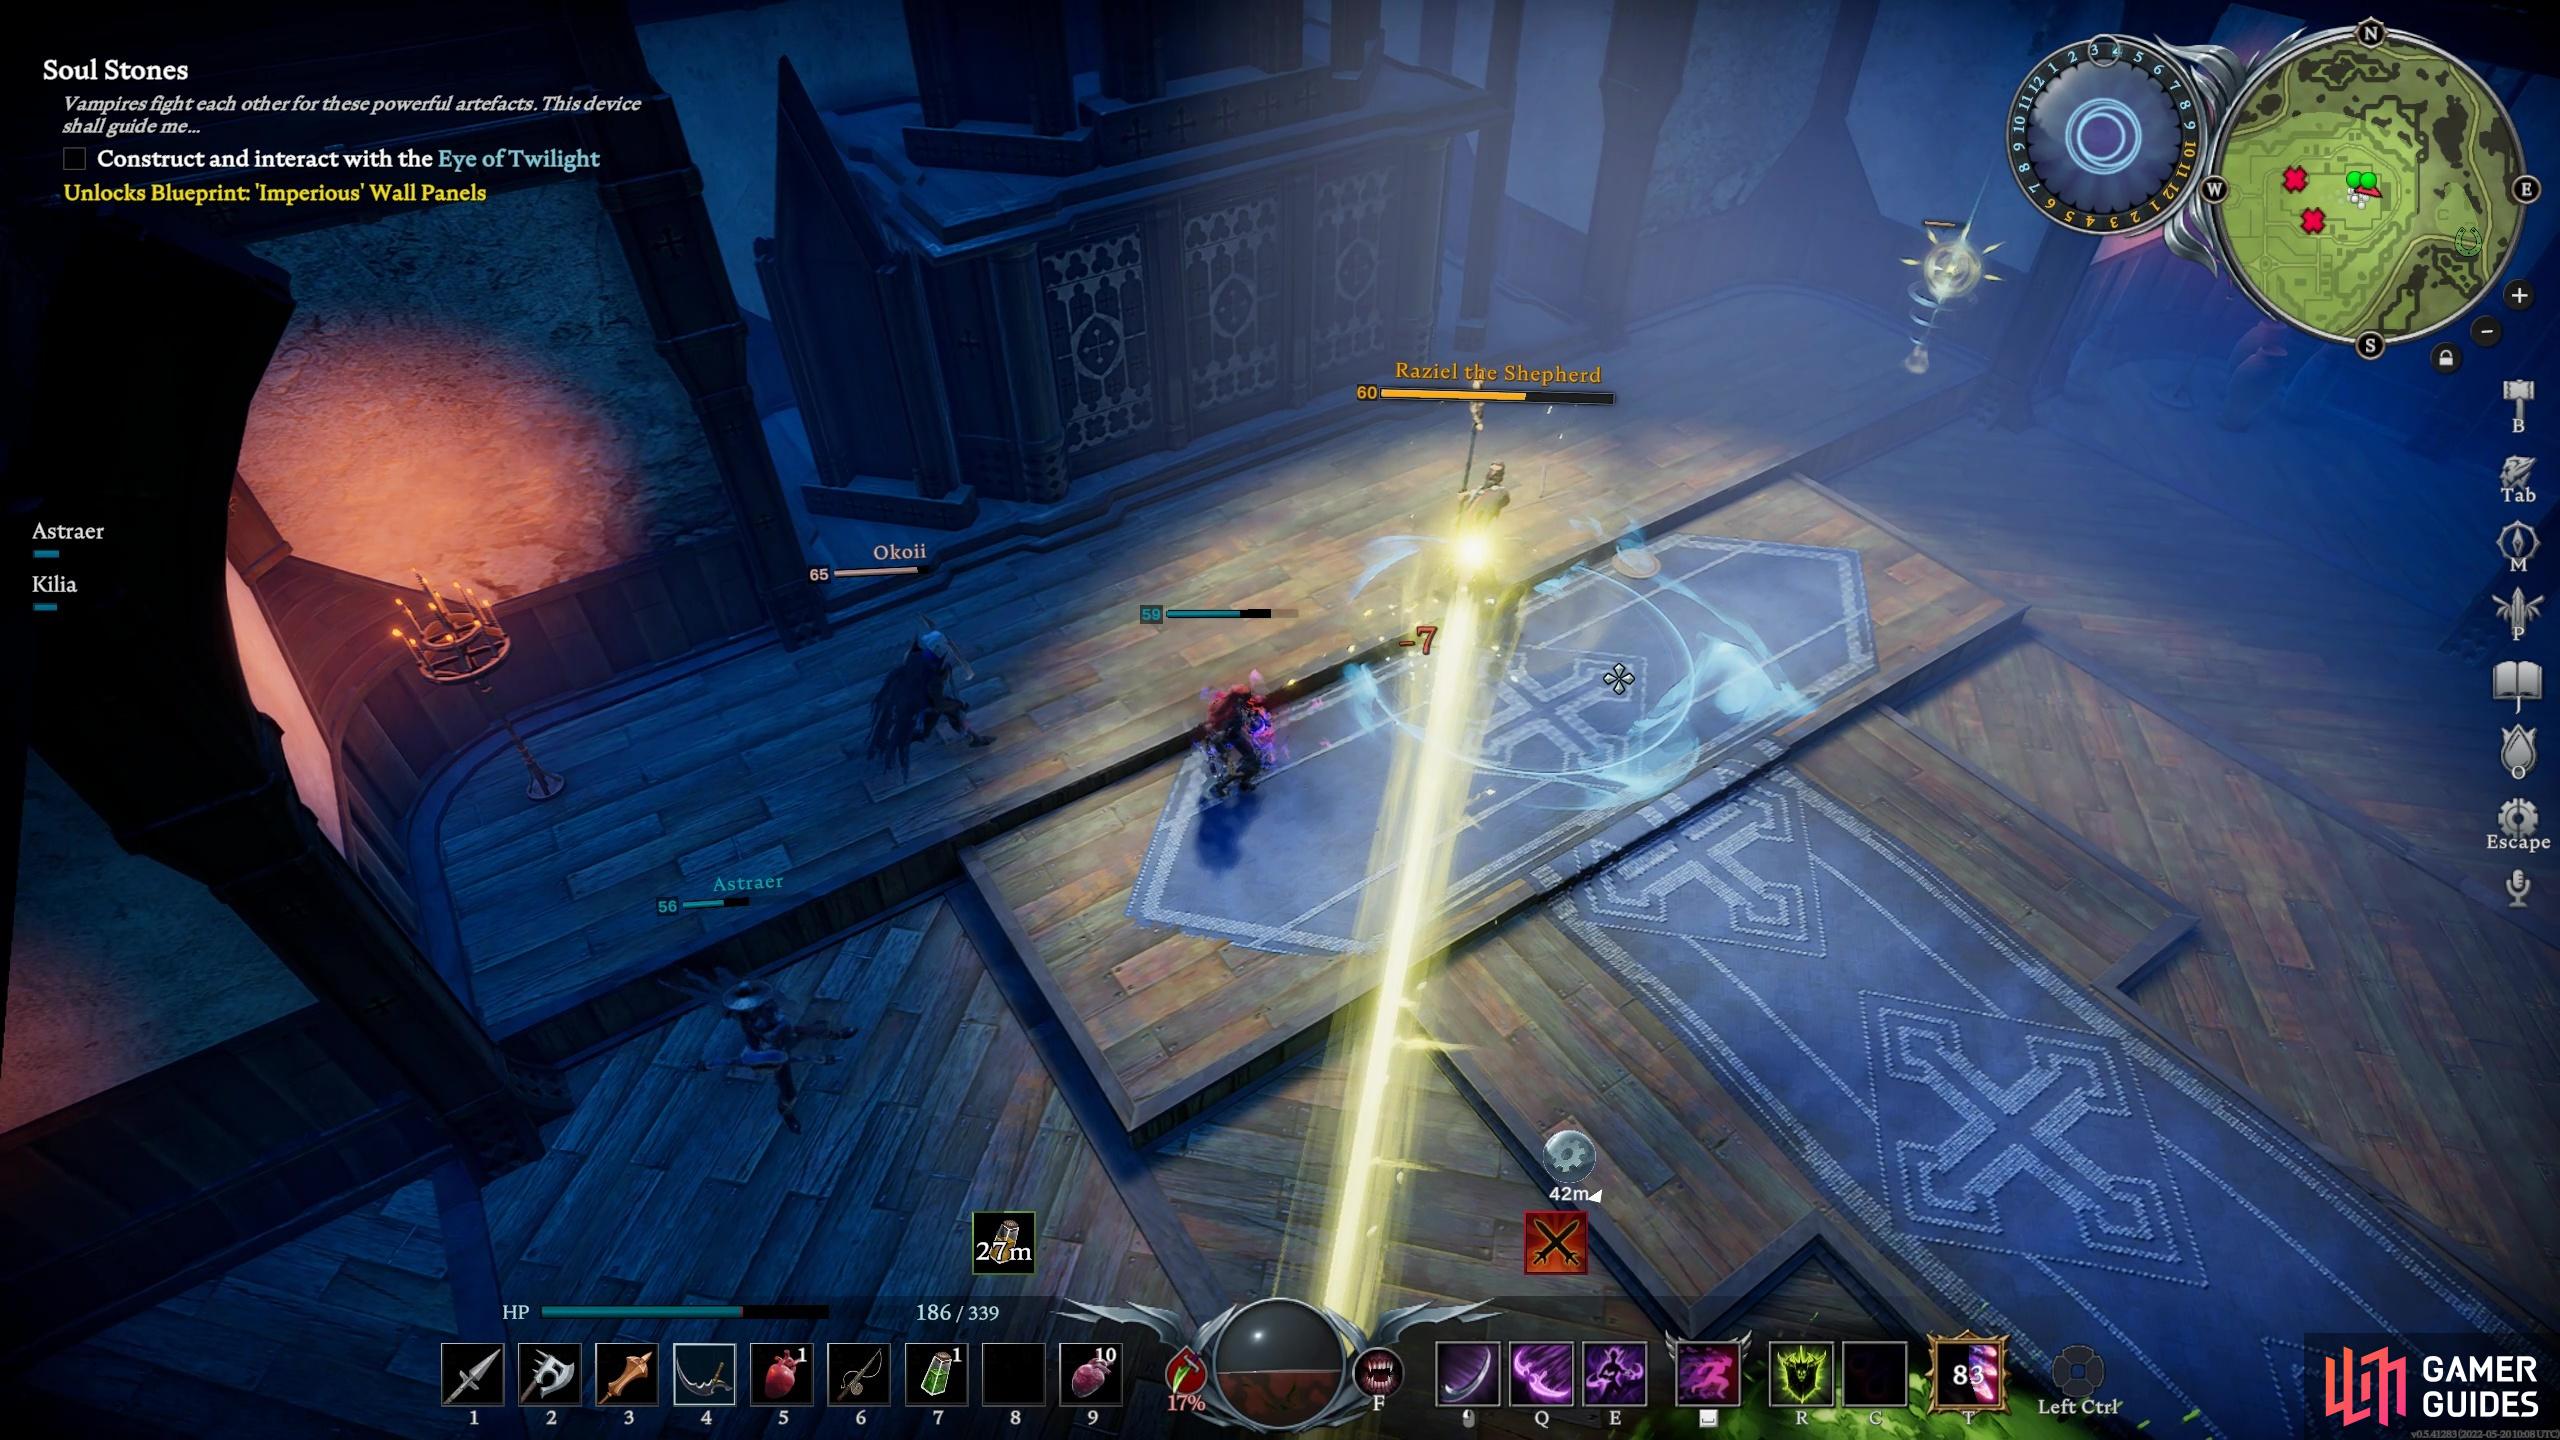
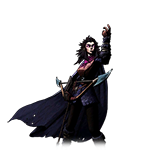
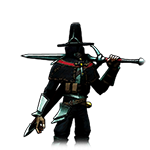
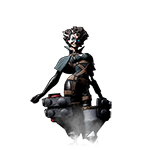
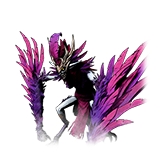
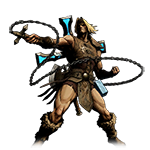
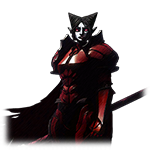
Raziel is just one of the many bosses you will encounter in V Rising.
If you’re looking for Boss from a specific act, hit the links below:
How to Find V Blood Carriers
Although you can just happen across V Blood Carriers through natural exploration, the game does give you a tool to make life easier for yourself. By pressing the “K” key, you can access the V Blood menu, where you can see a list of all the carriers in the game for each of the four Acts. You’re then free to choose one and begin tracking it, just remember to pay attention to the level of said boss!
When you look at a particular Carrier in thsi menu, you’ll be able to see what structures and recipes they may unlock, along with spell points for a particular school. Once you track the boss, you will see a blood trail that will direct you to where you may find the chosen boss. Alternatively, and far easier, you can consult this page and our V Rising Interactive Map to show you where they are, saving on precious travel time.
All V Rising Bosses by Act
The following list of tables will show you all of the V Blood Carriers in each of Vardoran’s regions sorted by the Act (of which there are four). It will also show you the Powers that you can unlock and the recipes and structures that come from absorbing their V Blood.
Act I Bosses
There are a whopping 14 bosses to find in the first Act of V Rising, and defeating them will unlock the majority of the game’s core systems needed for starting your castle build and unlocking some vital spells and forms.
| Icon | Name (Level) | Map Marker | Powers (Tier) | Unlocks |
|---|---|---|---|---|
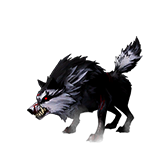 |
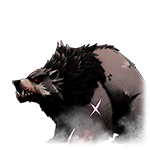
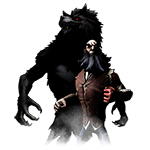
Map Marker |  Wolf Form Wolf Form |
– | |
 |
Map Marker | Tannery, |
||
 |
Map Marker | Material and Gem Storage, Copper Torch & Brazier | ||
 |
Map Marker | Woodworking Bench, Simple Furniture, Crossbow | ||
 |
Map Marker | Workshop Floors, Assortment of Storage Shelves, Target Dummies, |
||
 |
Map Marker | Tomb, Graveyard decor, |
||
 |
Map Marker | The Devourer, Leatherworking Station, |
||
 |
Map Marker | Alchemy Table, |
||
 |
Summoned via Vermin Nest at your Castle |  |
– | |
 |
Map Marker | Fishing Pole | ||
 |
Map Marker | Garden Foundations, Garden Hedges, Large Growing Plots, Growing Pot Collection, |
||
 |
Map Marker |  Bear Form Bear Form |
Hunting Trophy, Fur Rugs | |
 |
Map Marker | |||
 |
Map Marker | Smithy, Tailoring Bench, Ebonite Stairs & Doors, |
||
Act II Bosses
By now, you should have a full grasp of how the game works, and be well on your way to establishing your vampire kingdom. You’ll find a total of 17 bosses in Act II, and you’ll start unlocking more of the higher Tier spells at this point.
| Icon | Name (Level) | Map Marker | Powers (Tier) | Unlocks |
|---|---|---|---|---|
 |
Map Marker | – | Loom, Assortment of Curtains, Hunter’s Cloak, |
|
 |
Map Marker | Prison Cell, Prison Framework, Reinforced Plank | ||
 |
Christine the Sun Priestess (44) | Map Marker | Candles, |
|
 |
Map Marker | |||
 |
Map Marker | Nocturne Door Bell, Reaper, Skeleton Priest | ||
 |
Map Marker | Artisan Table, |
||
 |
Map Marker | Study, Verdant Garden Fencing, Wall Hanging Shelves, Scroll, |
||
 |
Map Marker |  Human Form Human Form |
Slashers | |
 |
Map Marker | Wall Hanging Mirrors, |
||
 |
Map Marker | Holy Resistance Potion | ||
 |
Map Marker | Gem Cutting Table, Siege Golem |
||
 |
Map Marker | |||
 |
Map Marker | Altar of Stygian Awakening, Stately Carpets | ||
 |
Map Marker | Stygian Summoning Circle, Vampiric Brew | ||
 |
Map Marker | Advanced Blood Press, |
||
 |
Map Marker | Jewelcrafting Table, Cordial Stairs & Doors | ||
 |
Map Marker | Ancestral Forge, Wide Castle Entrance, Equipment Storage | ||
Act III Bosses
Once you reach this stage of the game, you should have access to powerful spells and mighty equipment. You’ll only encounter nine bosses in this Act, but all of them are fearsome and will put your knowledge of V Rising to the test.
| Icon | Name (Level) | Map Marker | Powers (Tier) | Unlocks |
|---|---|---|---|---|
 |
Map Marker | Fabricator, Sludge-filled Cannister, |
||
 |
Map Marker | Advanced Grinder, Castle Teleporter, Whip | ||
 |
Map Marker | Dawnthorn Regalia, Mutated |
||
 |
Map Marker | |||
 |
Map Marker | |||
 |
Map Marker | |||
 |
Map Marker |  Toad Form Toad Form |
Chess Table, Coining | |
 |
Map Marker | Longcase Cloaks, Silver Resistance Potion, |
||
 |
Map Marker | Anvil, Advanced Furnace, |
||
Act IV Bosses
The final Act in V Rising contains another 17 bosses for you to take down, and with them, gain some important unlocks such as Bat Form! What’s more, at the end of this Act, Dracula himself awaits you as the ultimate test of everything you’ve learned and mastered.
| Icon | Name (Level) | Map Marker | Powers (Tier) | Unlocks |
|---|---|---|---|---|
 |
Map Marker | Assortment of Wide Storage Shelves, |
||
 |
Map Marker | Rural Garden Fencing, Barrel Disguise, Blood Merlot, Blood Merlot Amulet | ||
 |
Map Marker | Flawless Gems | ||
 |
Map Marker | Holy Resistance Flask, Greater Jewels | ||
 |
Map Marker | Athenaeum, Luminescent Mushroom Terrarium, |
||
 |
Map Marker | Advanced Loom, |
||
 |
Map Marker | Advanced Tannery | ||
 |
Map Marker | Ostentatious Carpets, |
||
 |
Map Marker | |||
 |
Map Marker | – | ||
 |
Map Marker |  Bat Form Bat Form |
||
 |
Map Marker | |||
 |
Map Marker | Coat of Arms, Shadow Weave, Primal Jewels | ||
 |
Map Marker | – | Pedestal of Solarus, |
|
 |
Map Marker | – | Pedestal of the Winged Horror, |
|
 |
Map Marker | – | Pedestal of the Monster, |
|
 |
Map Marker | – | Pedestal of Dracula, |
There you have it, you now know where to find every V Blood Carrier in V Rising and what unlocks you will obtain from it. These are not one-time battles, you can choose to track them and fight them whenever you’re ready for a challenge.

 Sign up
No Comments