
The ![]() Kuttenberg region is full of all different types of people, and a knight of
Kuttenberg region is full of all different types of people, and a knight of ![]() Zimburg, Sir Jan Posy, is enlisting aid in
Zimburg, Sir Jan Posy, is enlisting aid in ![]() Bylany to rescue his brother, who has been kidnapped. Enter Henry of
Bylany to rescue his brother, who has been kidnapped. Enter Henry of ![]() Skalitz, man of the people, who happily jumps at a chance to aid his fellow man. Keep reading to learn how to pull off a most daring rescue in the
Skalitz, man of the people, who happily jumps at a chance to aid his fellow man. Keep reading to learn how to pull off a most daring rescue in the ![]() Bellatores side quest in Kingdom Come: Deliverance II.
Bellatores side quest in Kingdom Come: Deliverance II.
Bellatores is a side quest in the Kuttenberg region of Kingdom Come: Deliverance II.
Table of Contents
If you want to jump to a specific section, click on the links below.
| Quickjump |
|---|
| Starting the Bellatores Quest |
| Follow Posy to the Battleground |
| Sort Out the Situation with the Looters |
| Conquer Zimburg |
Starting the Bellatores Quest
You won’t have access to the ![]() Kuttenberg region until you’ve progressed the main story as it’s not until you complete the Storm quest that you’ll reach Kuttenberg for the first time, and even then, you’ll be locked into the introductory main quests of this region before you can jump on your horse and explore it.
Kuttenberg region until you’ve progressed the main story as it’s not until you complete the Storm quest that you’ll reach Kuttenberg for the first time, and even then, you’ll be locked into the introductory main quests of this region before you can jump on your horse and explore it.
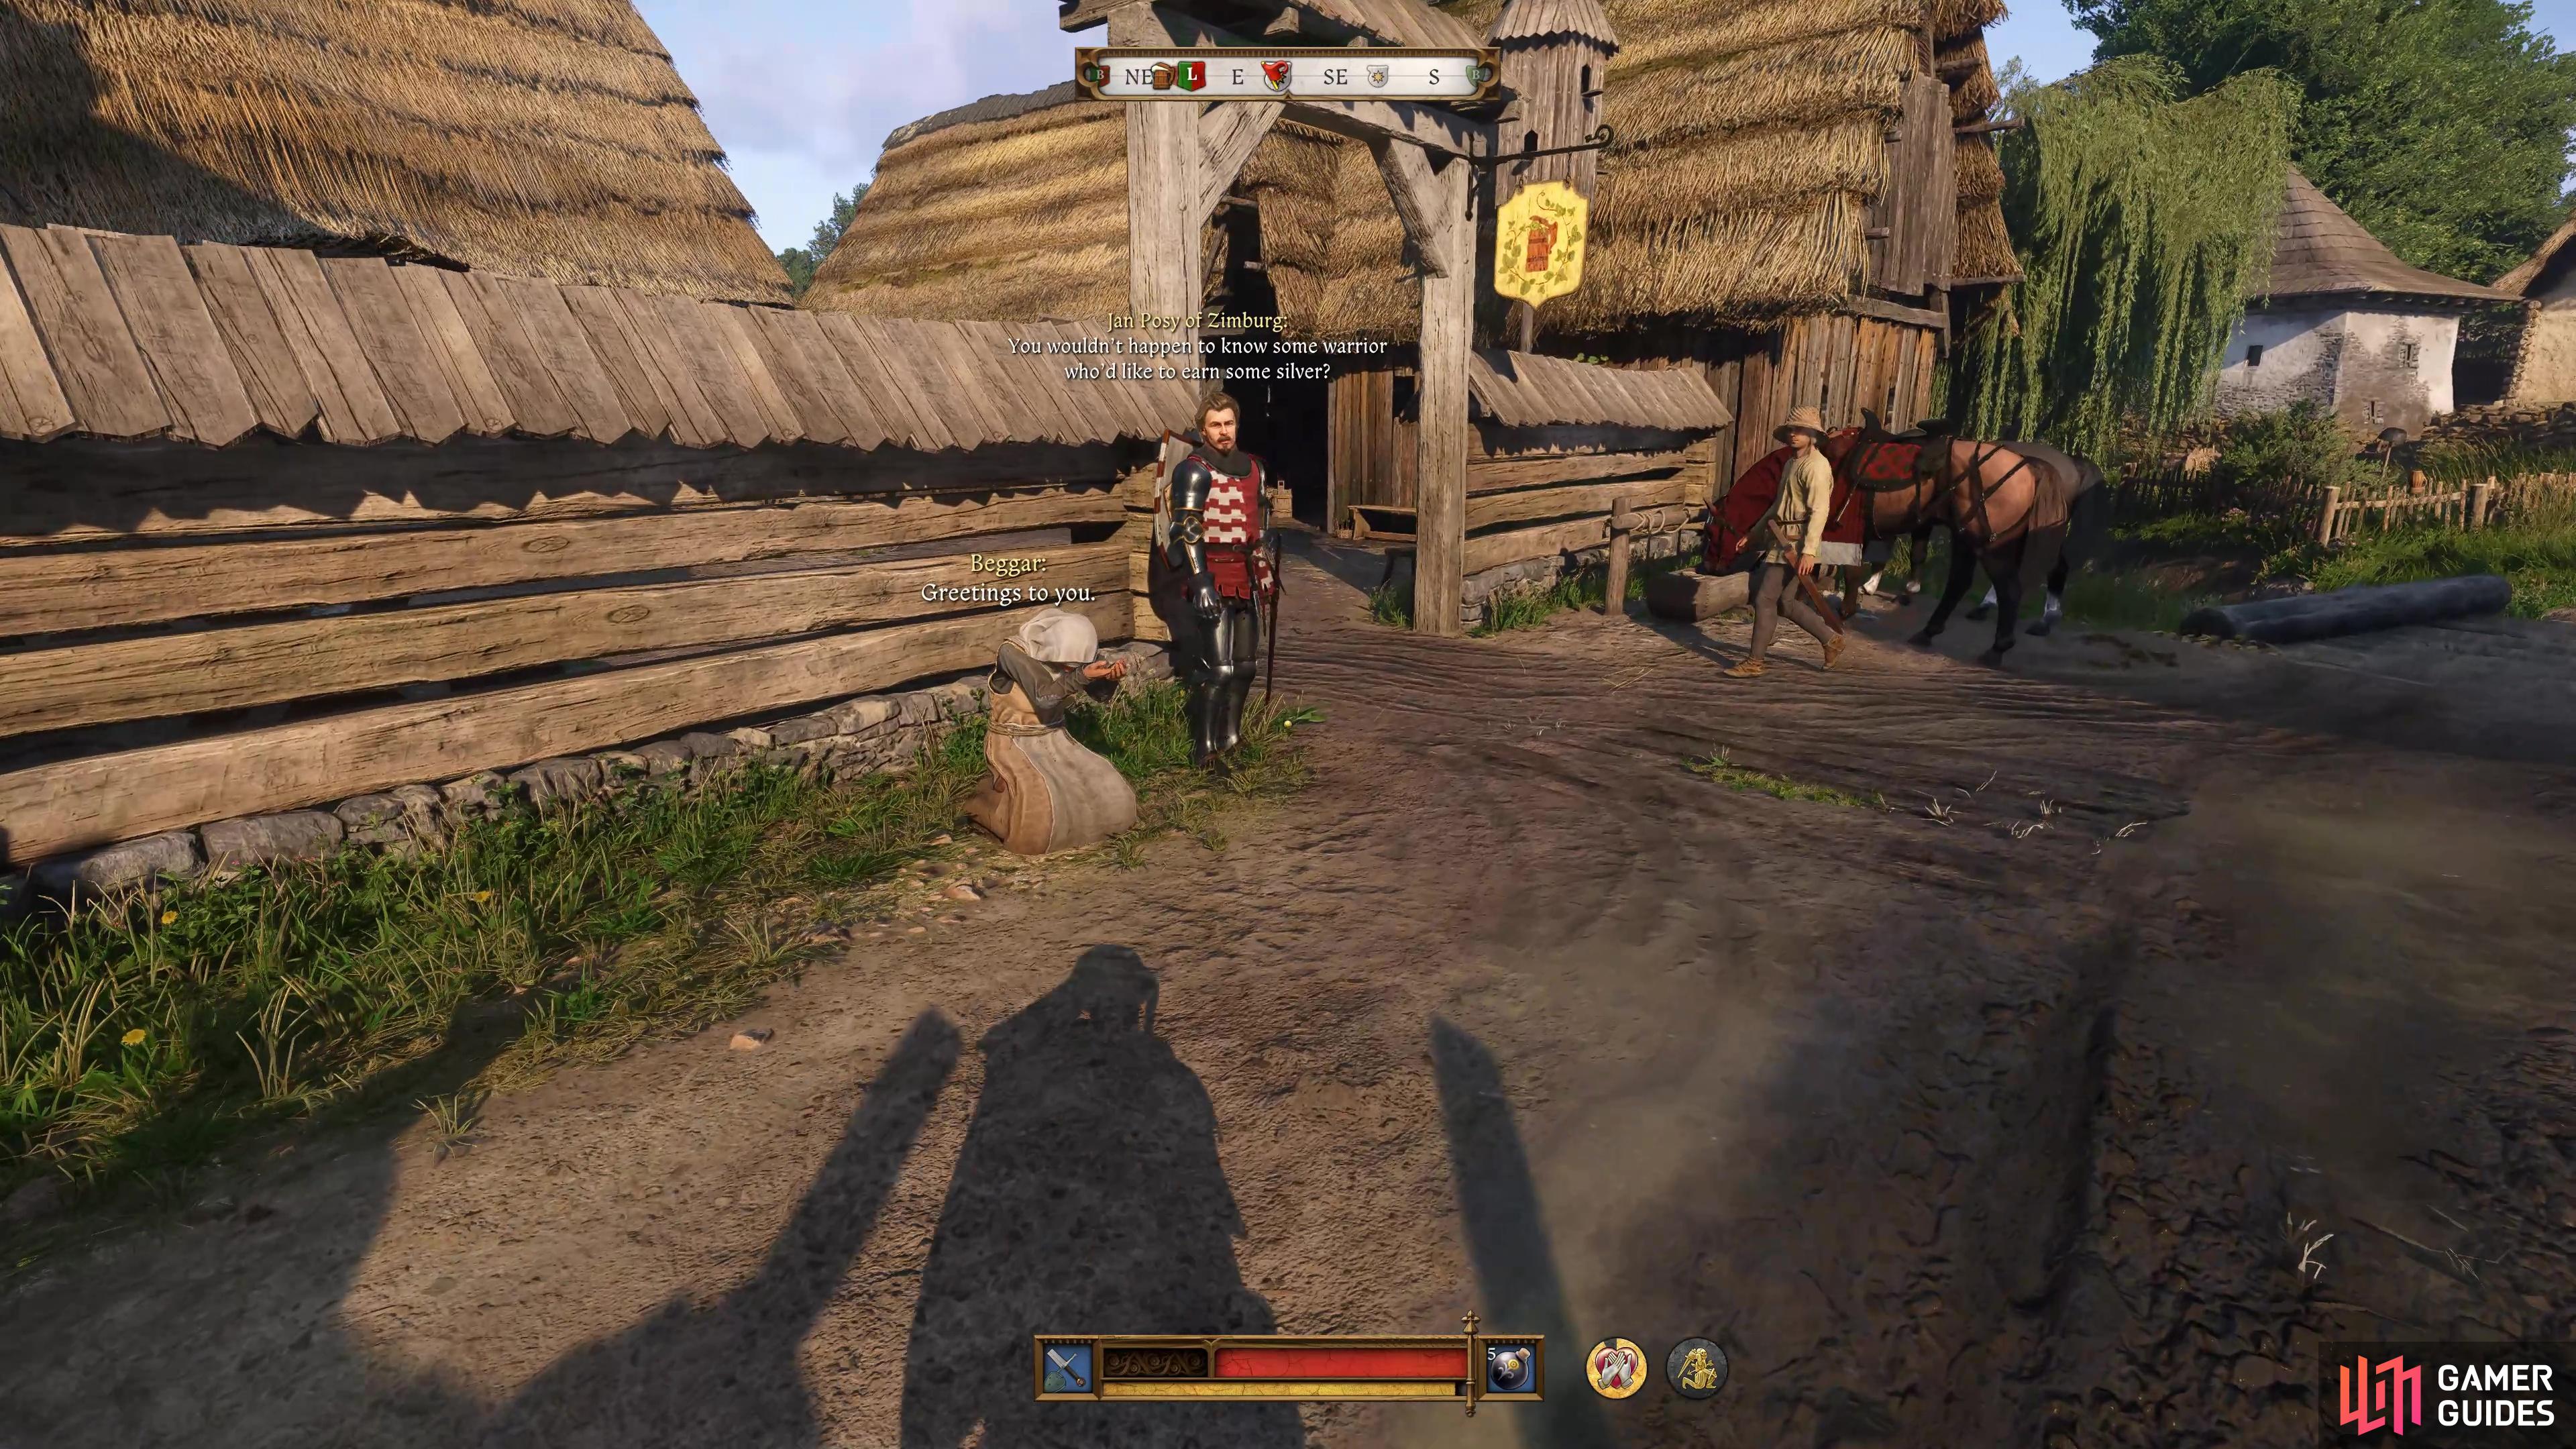
Once you’re free to roam about, make for Bylany, a village located to the southeast of the region (or south of Kuttenberg) that has a few quests available for you to start here. More specifically, for Bellatores, head toward the tavern to find Sir Jan Posy standing outside, looking for aid in tracking and taking down some ![]() Cumans.
Cumans.
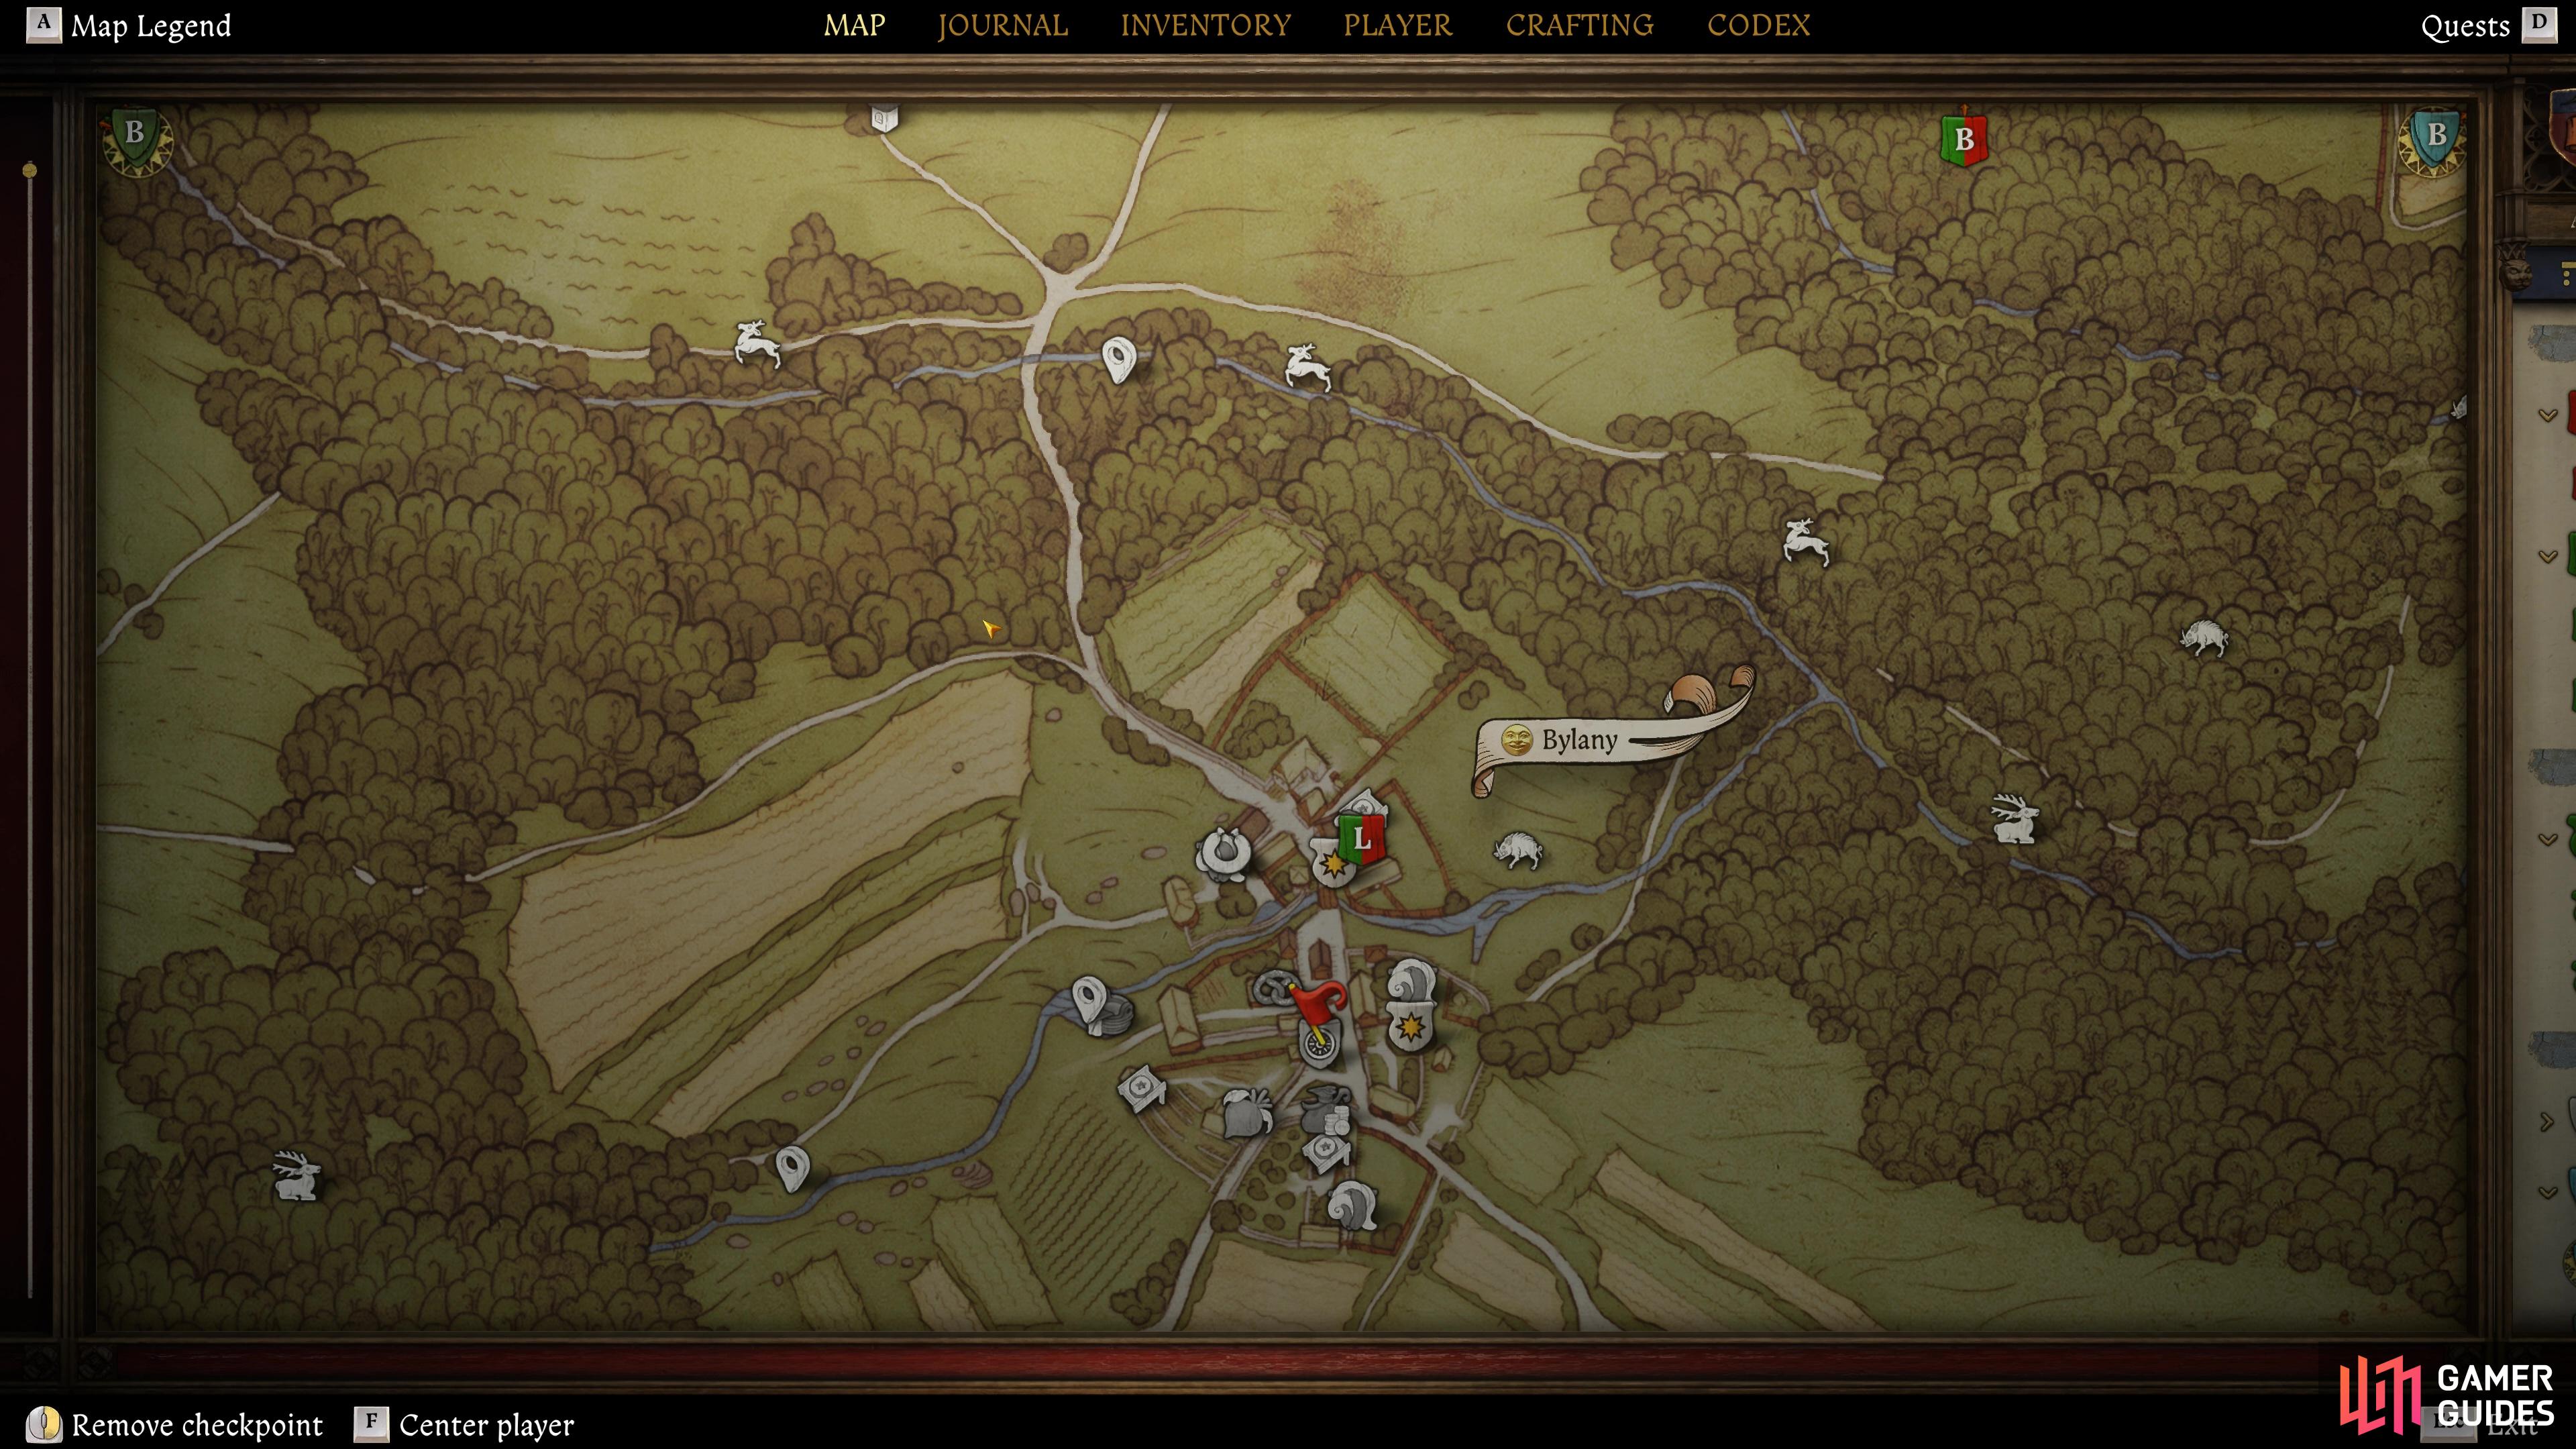
(1 of 2) Bylany is located to the southeast of the region.
Bylany is located to the southeast of the region. (left), You’ll find Jan Posy standing outside of the tavern. (right)
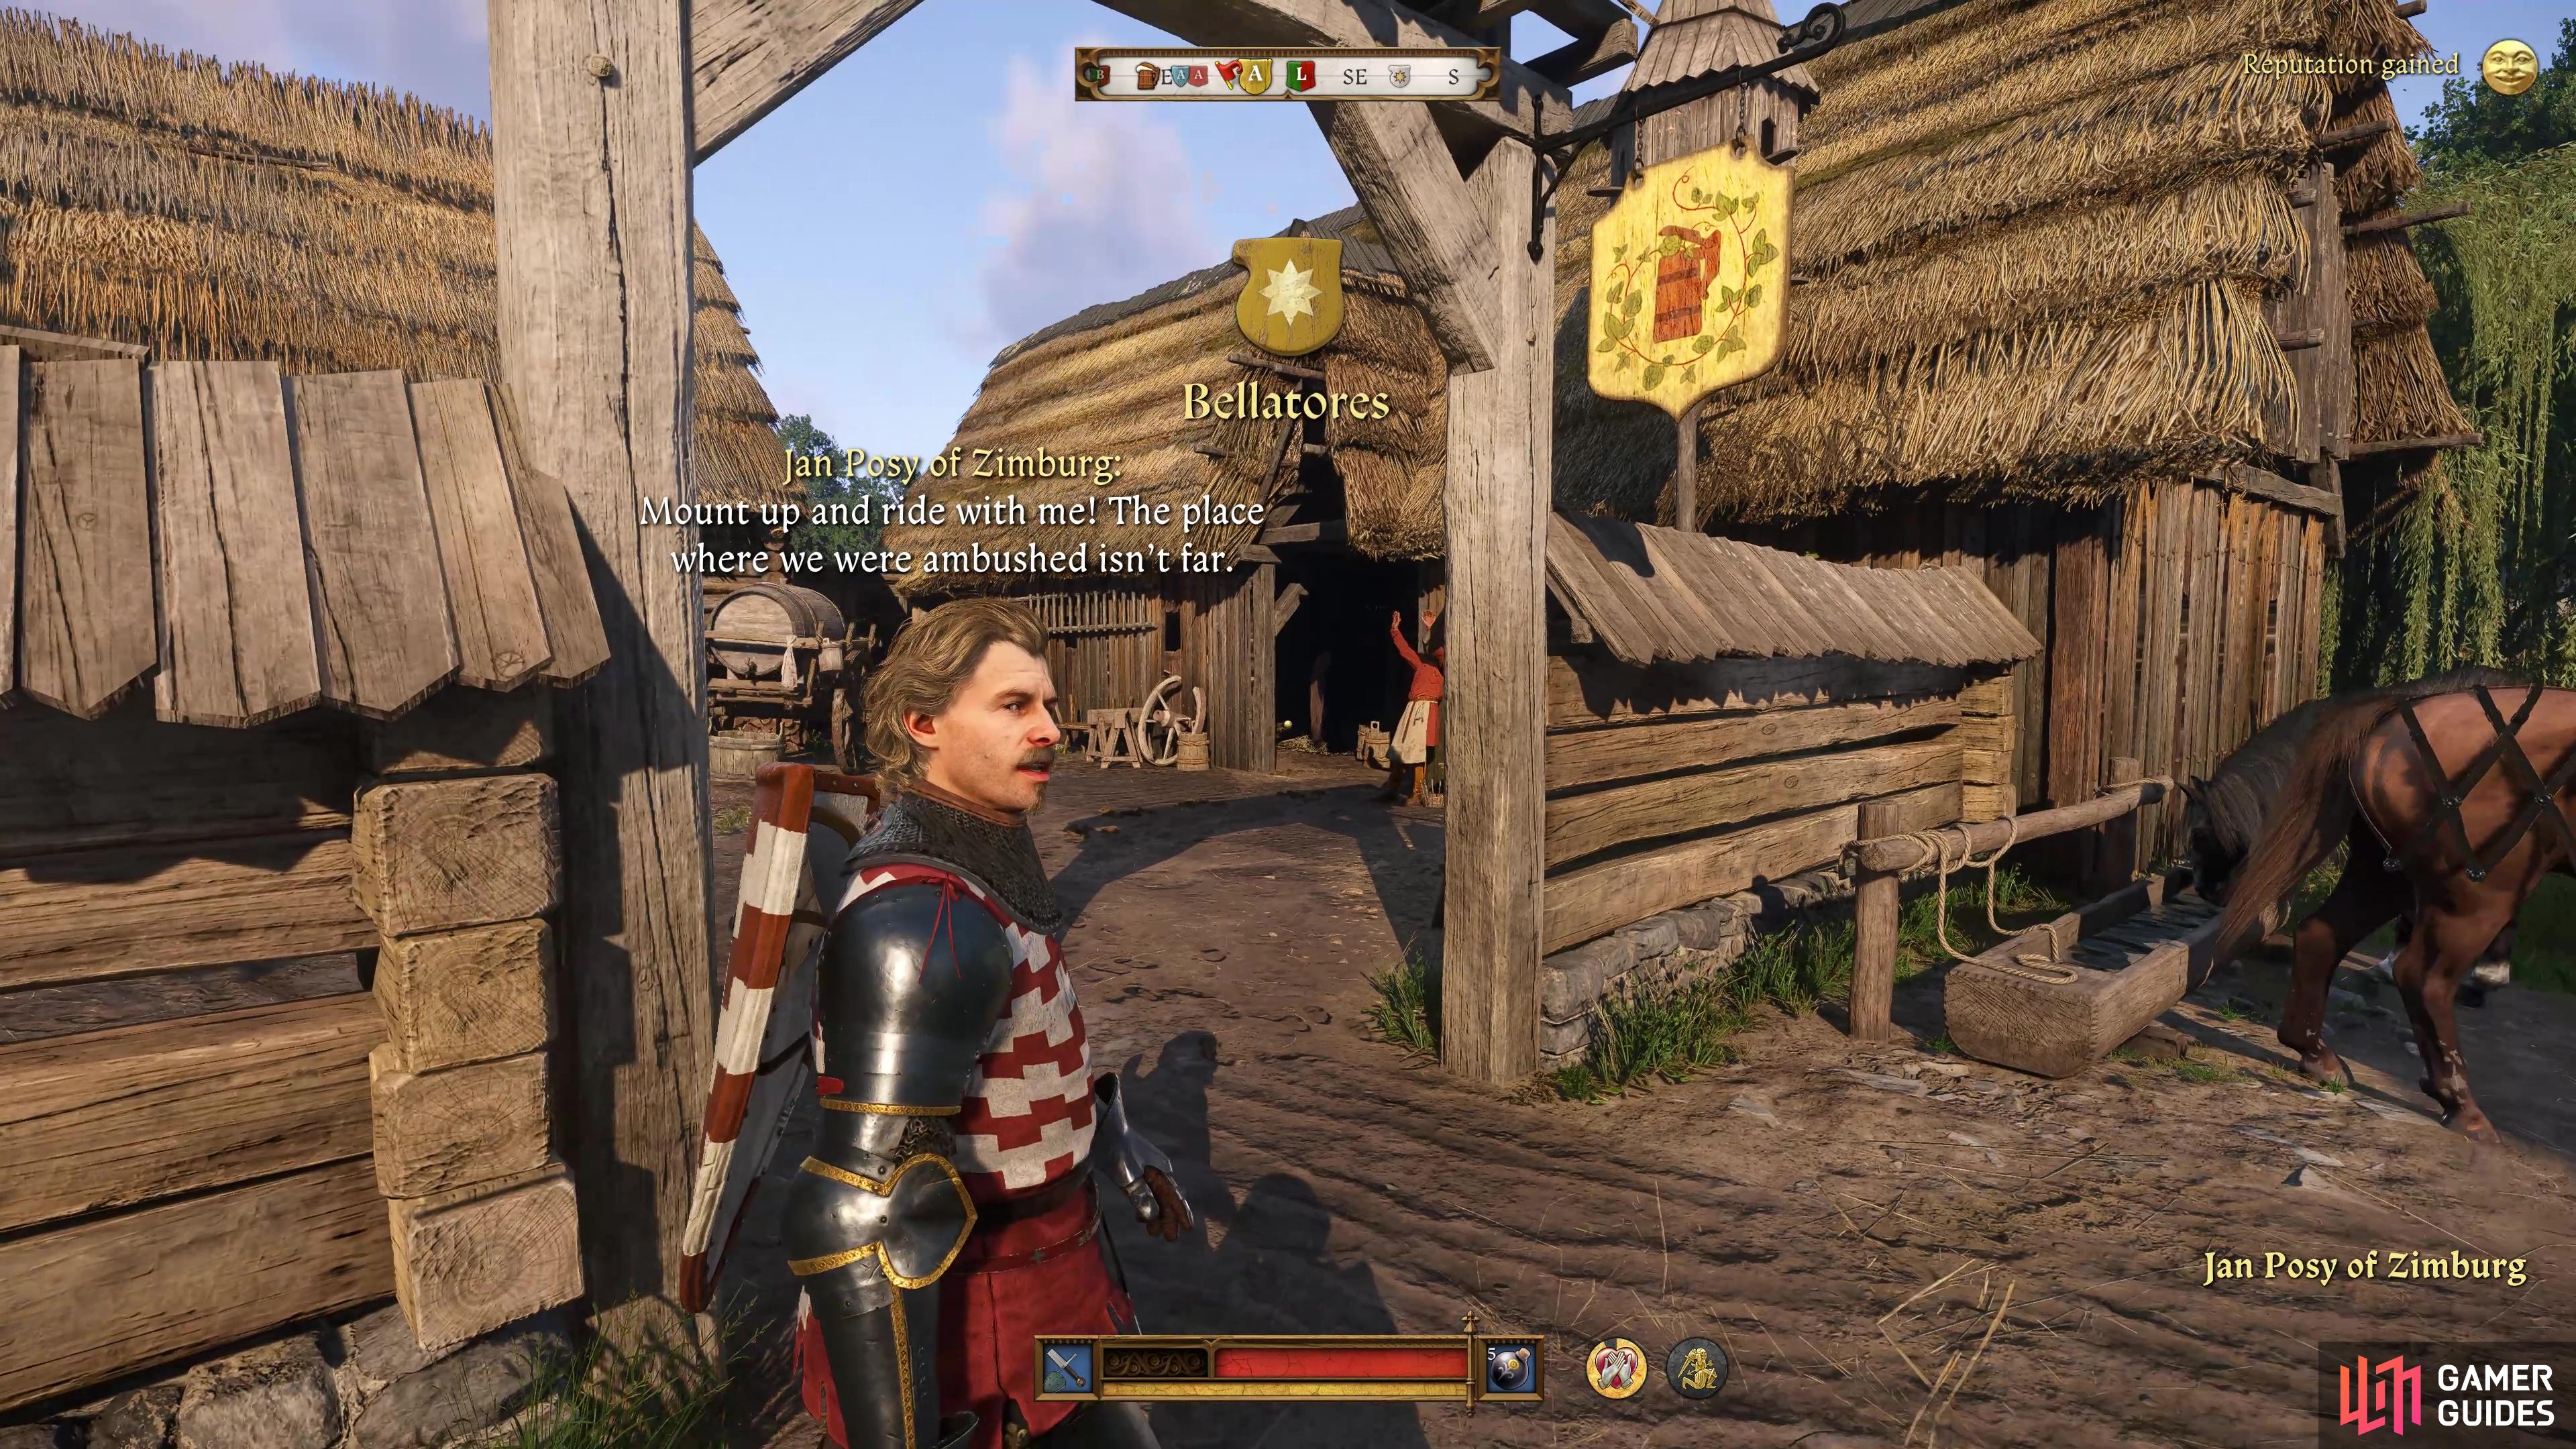
Follow Posy to the Battleground
Once you’ve agreed to help him, mount up and choose to follow Jan to where he was ambushed, a place he claims isn’t too far. There’s not much to do here but enjoy the scenery and listen to some more of Jan’s backstory, although do take the opportunity to ensure your gear is in order, this quest will end with a large battle so you’ll need all the protection and resources you can muster. Eventually, you’ll reach the ambush site where it looks like a group of looters have gathered.
Sort Out the Situation with the Looters
Jan will be quick to anger at the sight of looters scavenging around the remains of his men, and will be looking for a fight. The looters, however, aren’t a match for Henry and Jan, so you can look to calm the situation instead. When the Ruffian turns to face Henry, you will have an opportunity to interject and negotiate, which is the best outcome for this situation.
Plead with Jan to spare them and then you’ll have to pass a speech check, which are as follows:
-
[Medium] “It’s an opportunity.”
-
[Hard] “A knight should defend the common people!”
-
[Very Hard] “I Won’t help you anymore if you kill them.”
-
“You’re right, they should die. Up and at them!”
As you can see, these are difficult speech checks, so if you’re stats aren’t quite up to scratch, then you’re going to have a battle (albeit a simple one) on your hands. Still, at this stage of the game, you should be able to pass the Medium Speech check at least.
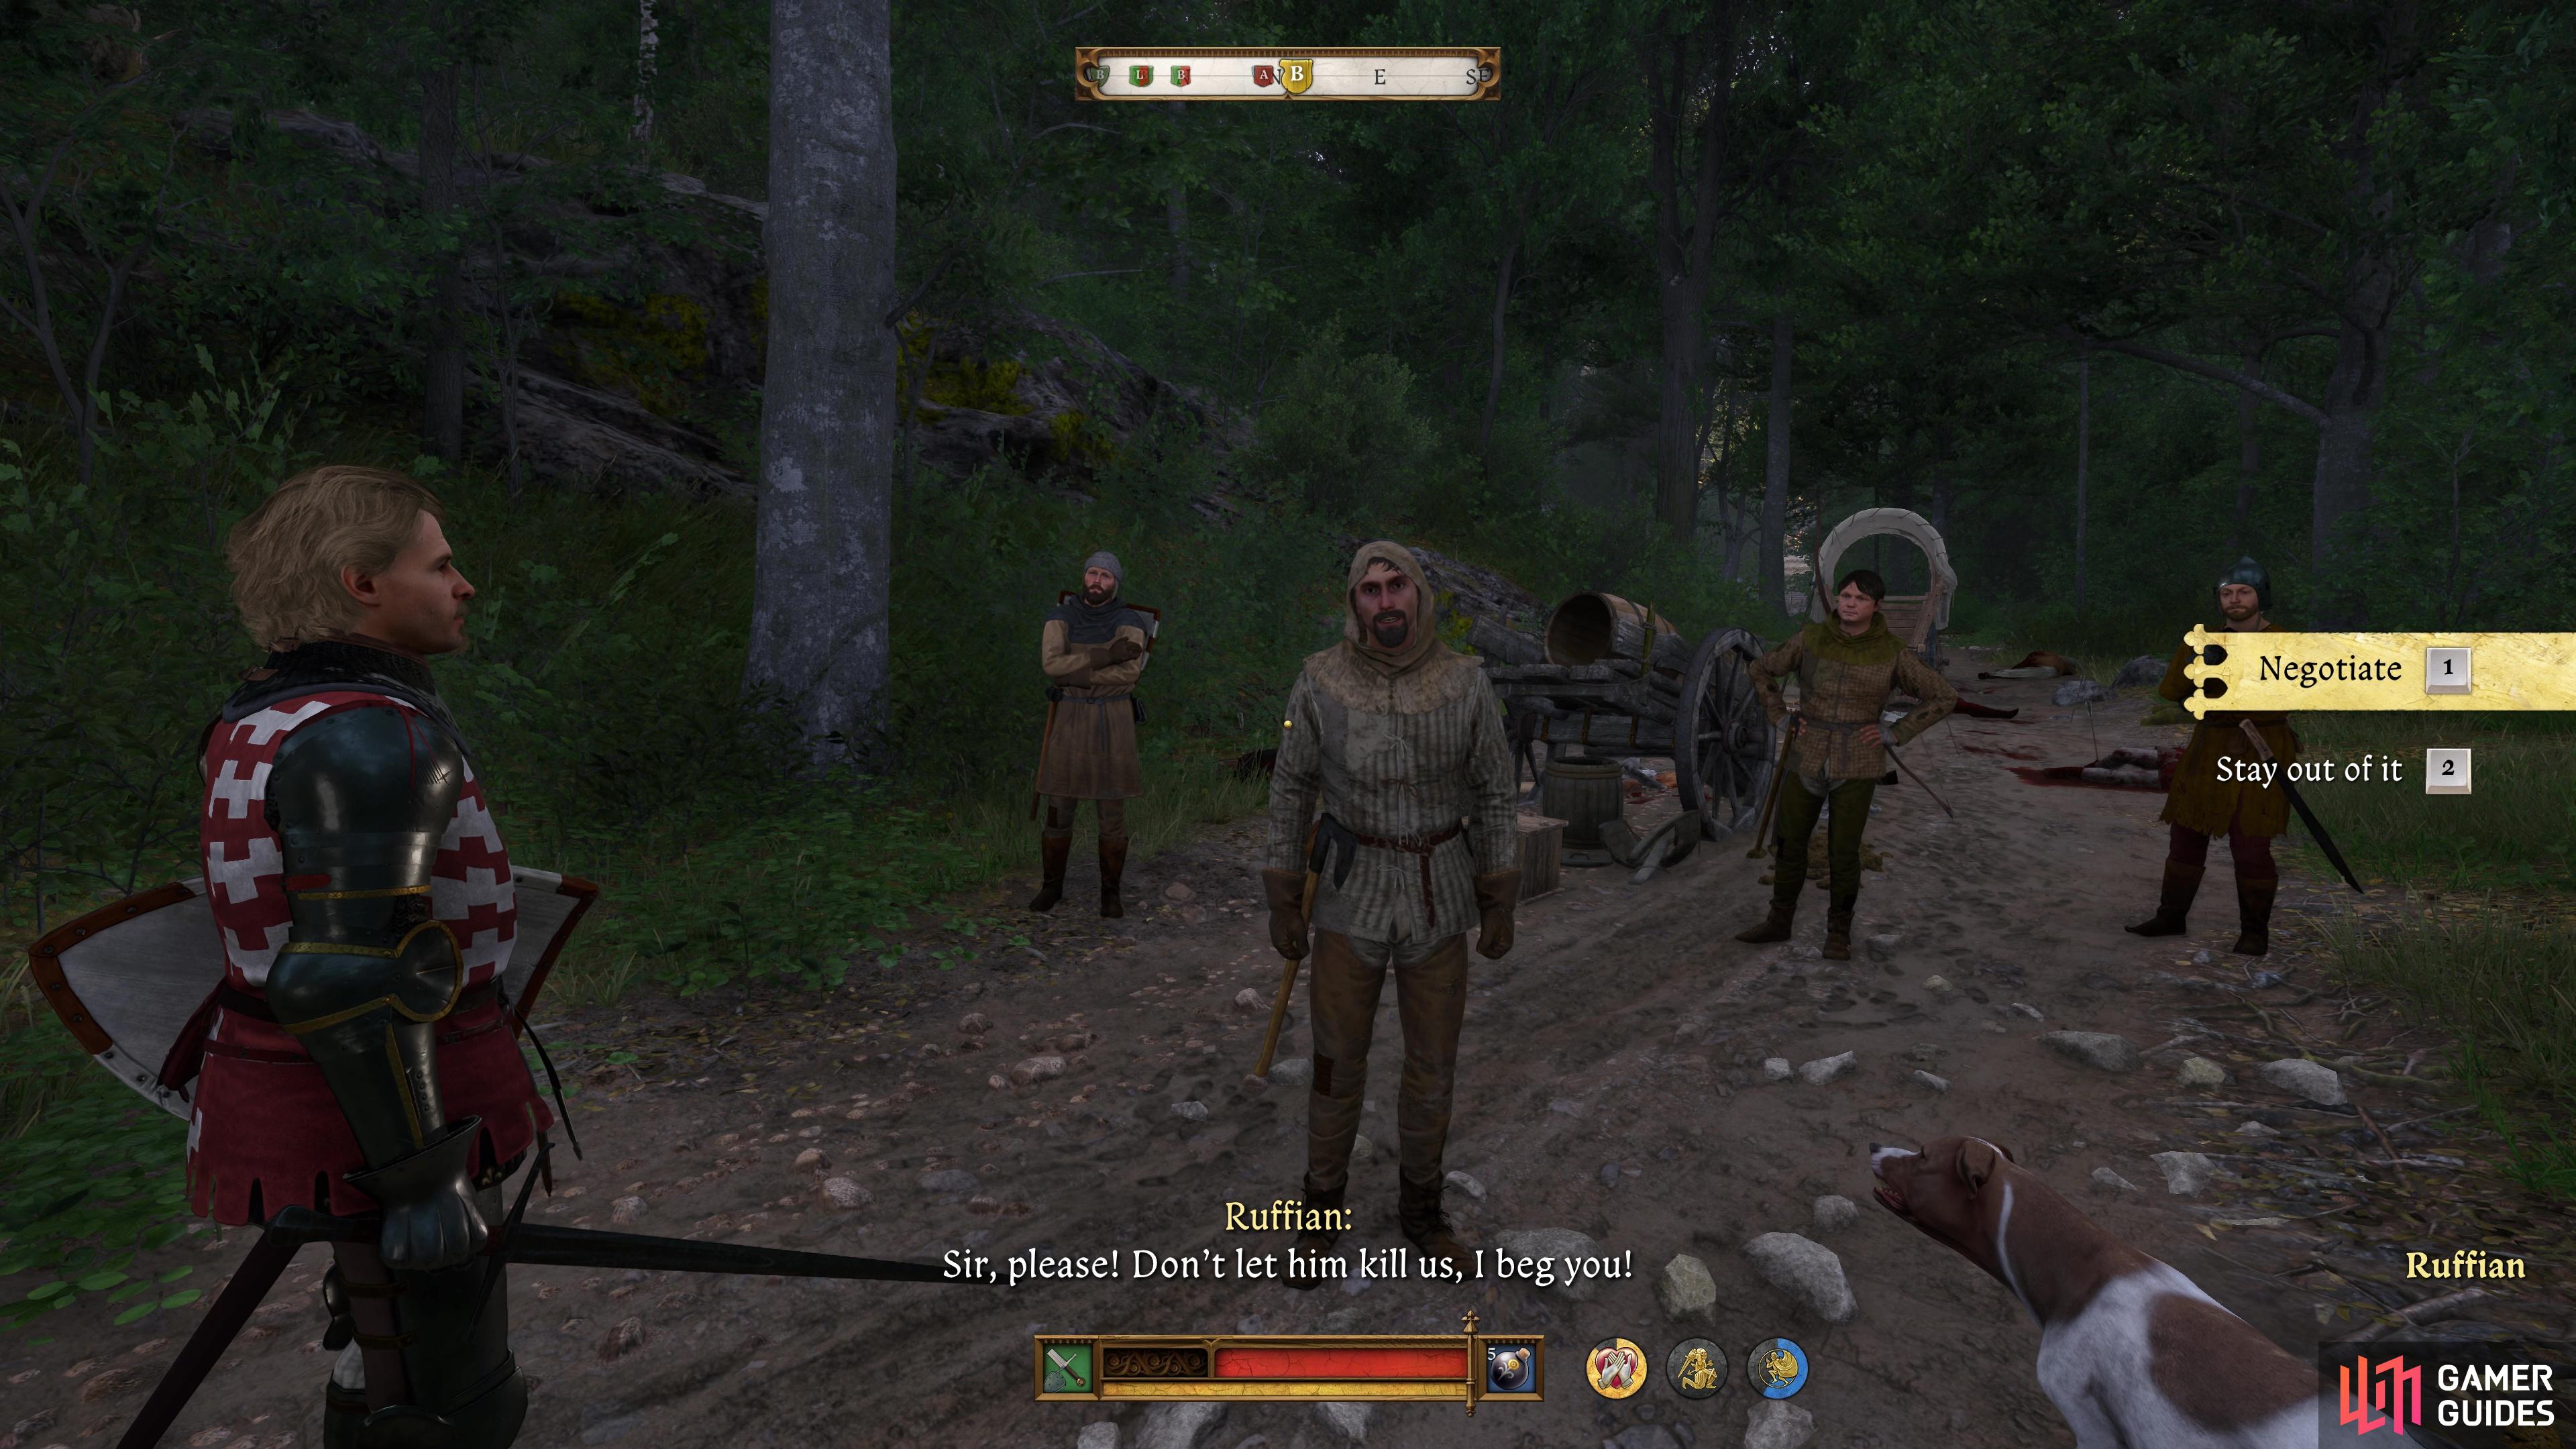
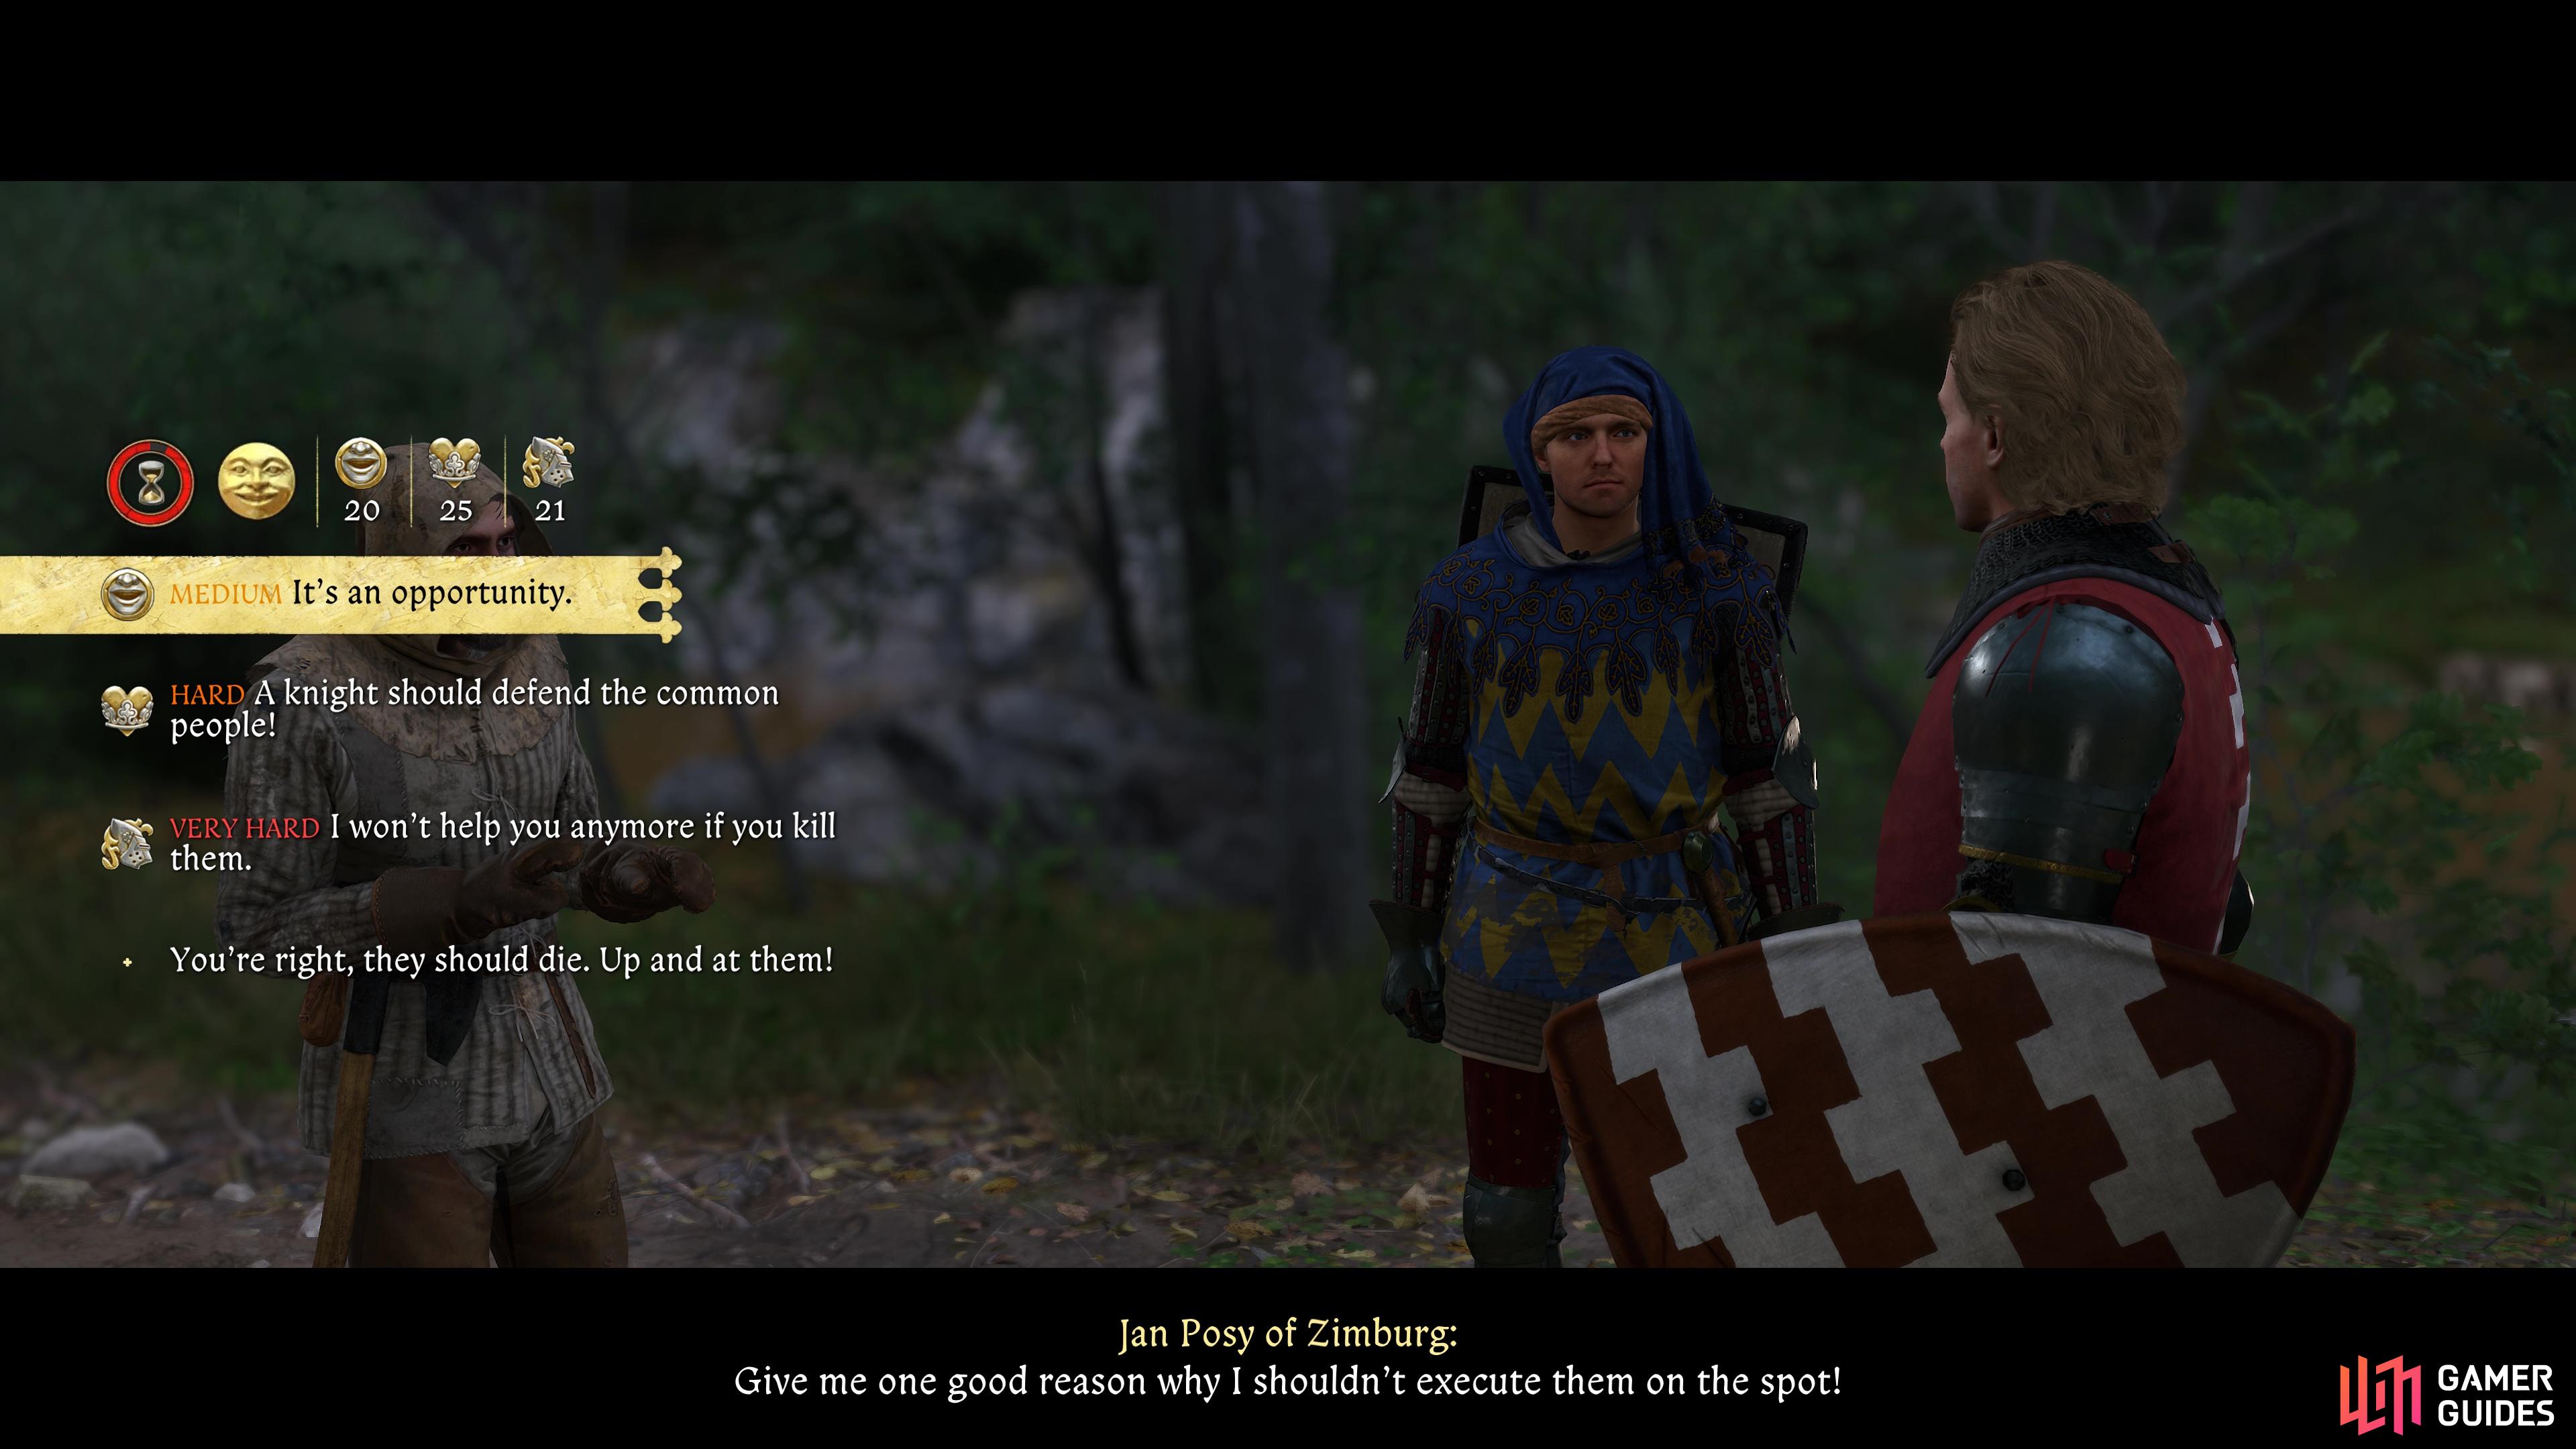

(1 of 4) Attempt to negotiate with Jan when he confronts the looters.
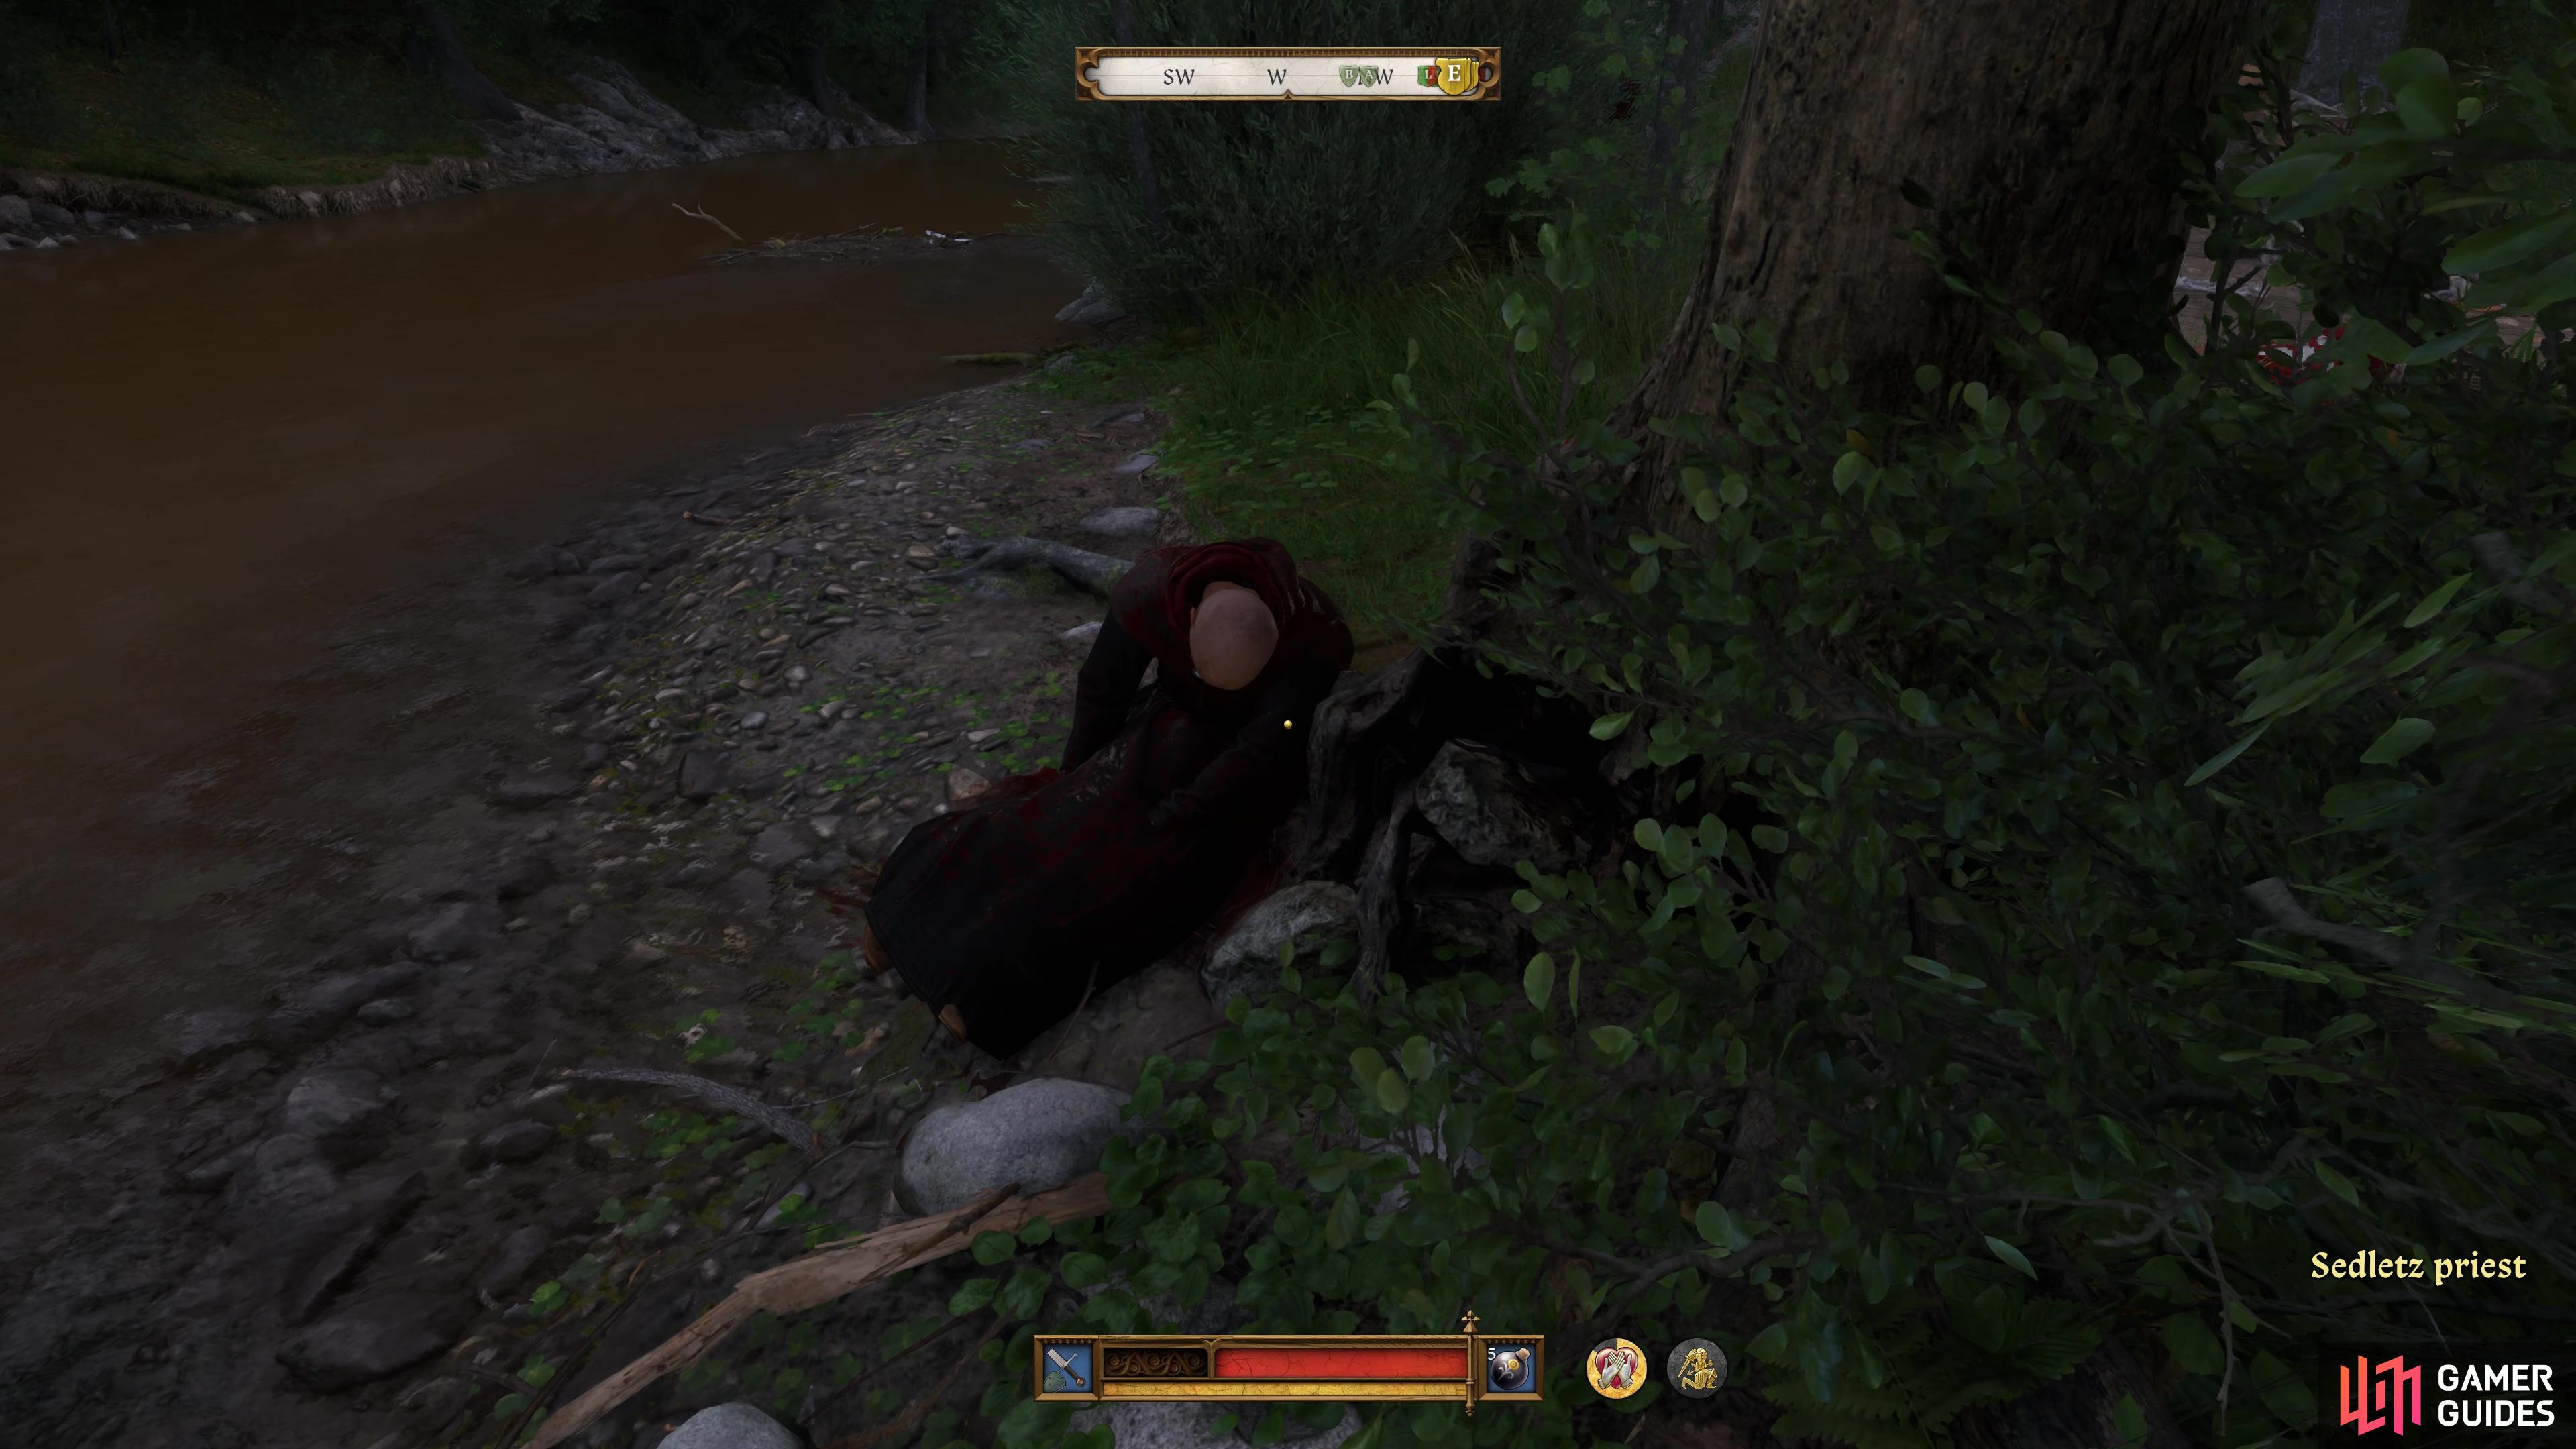
Regardless of how the situation plays out, you’ll need to examine the ambush site to see if there’s a Priest with them, and to arm yourself with a Halberd, that is sitting up against the cart (you don’t need to use this if you’re not fond of Polearms, but you do need to pick it up). The Priest can be found by searching along the stream to the east, slumped up against a tree. Once both objectives are fulfilled you can start following Jan to the battleground. Along the way, you’ll run into a woman by the name of Fiolka, who will point you in the right direction of the Cumans.
Conquer Zimburg
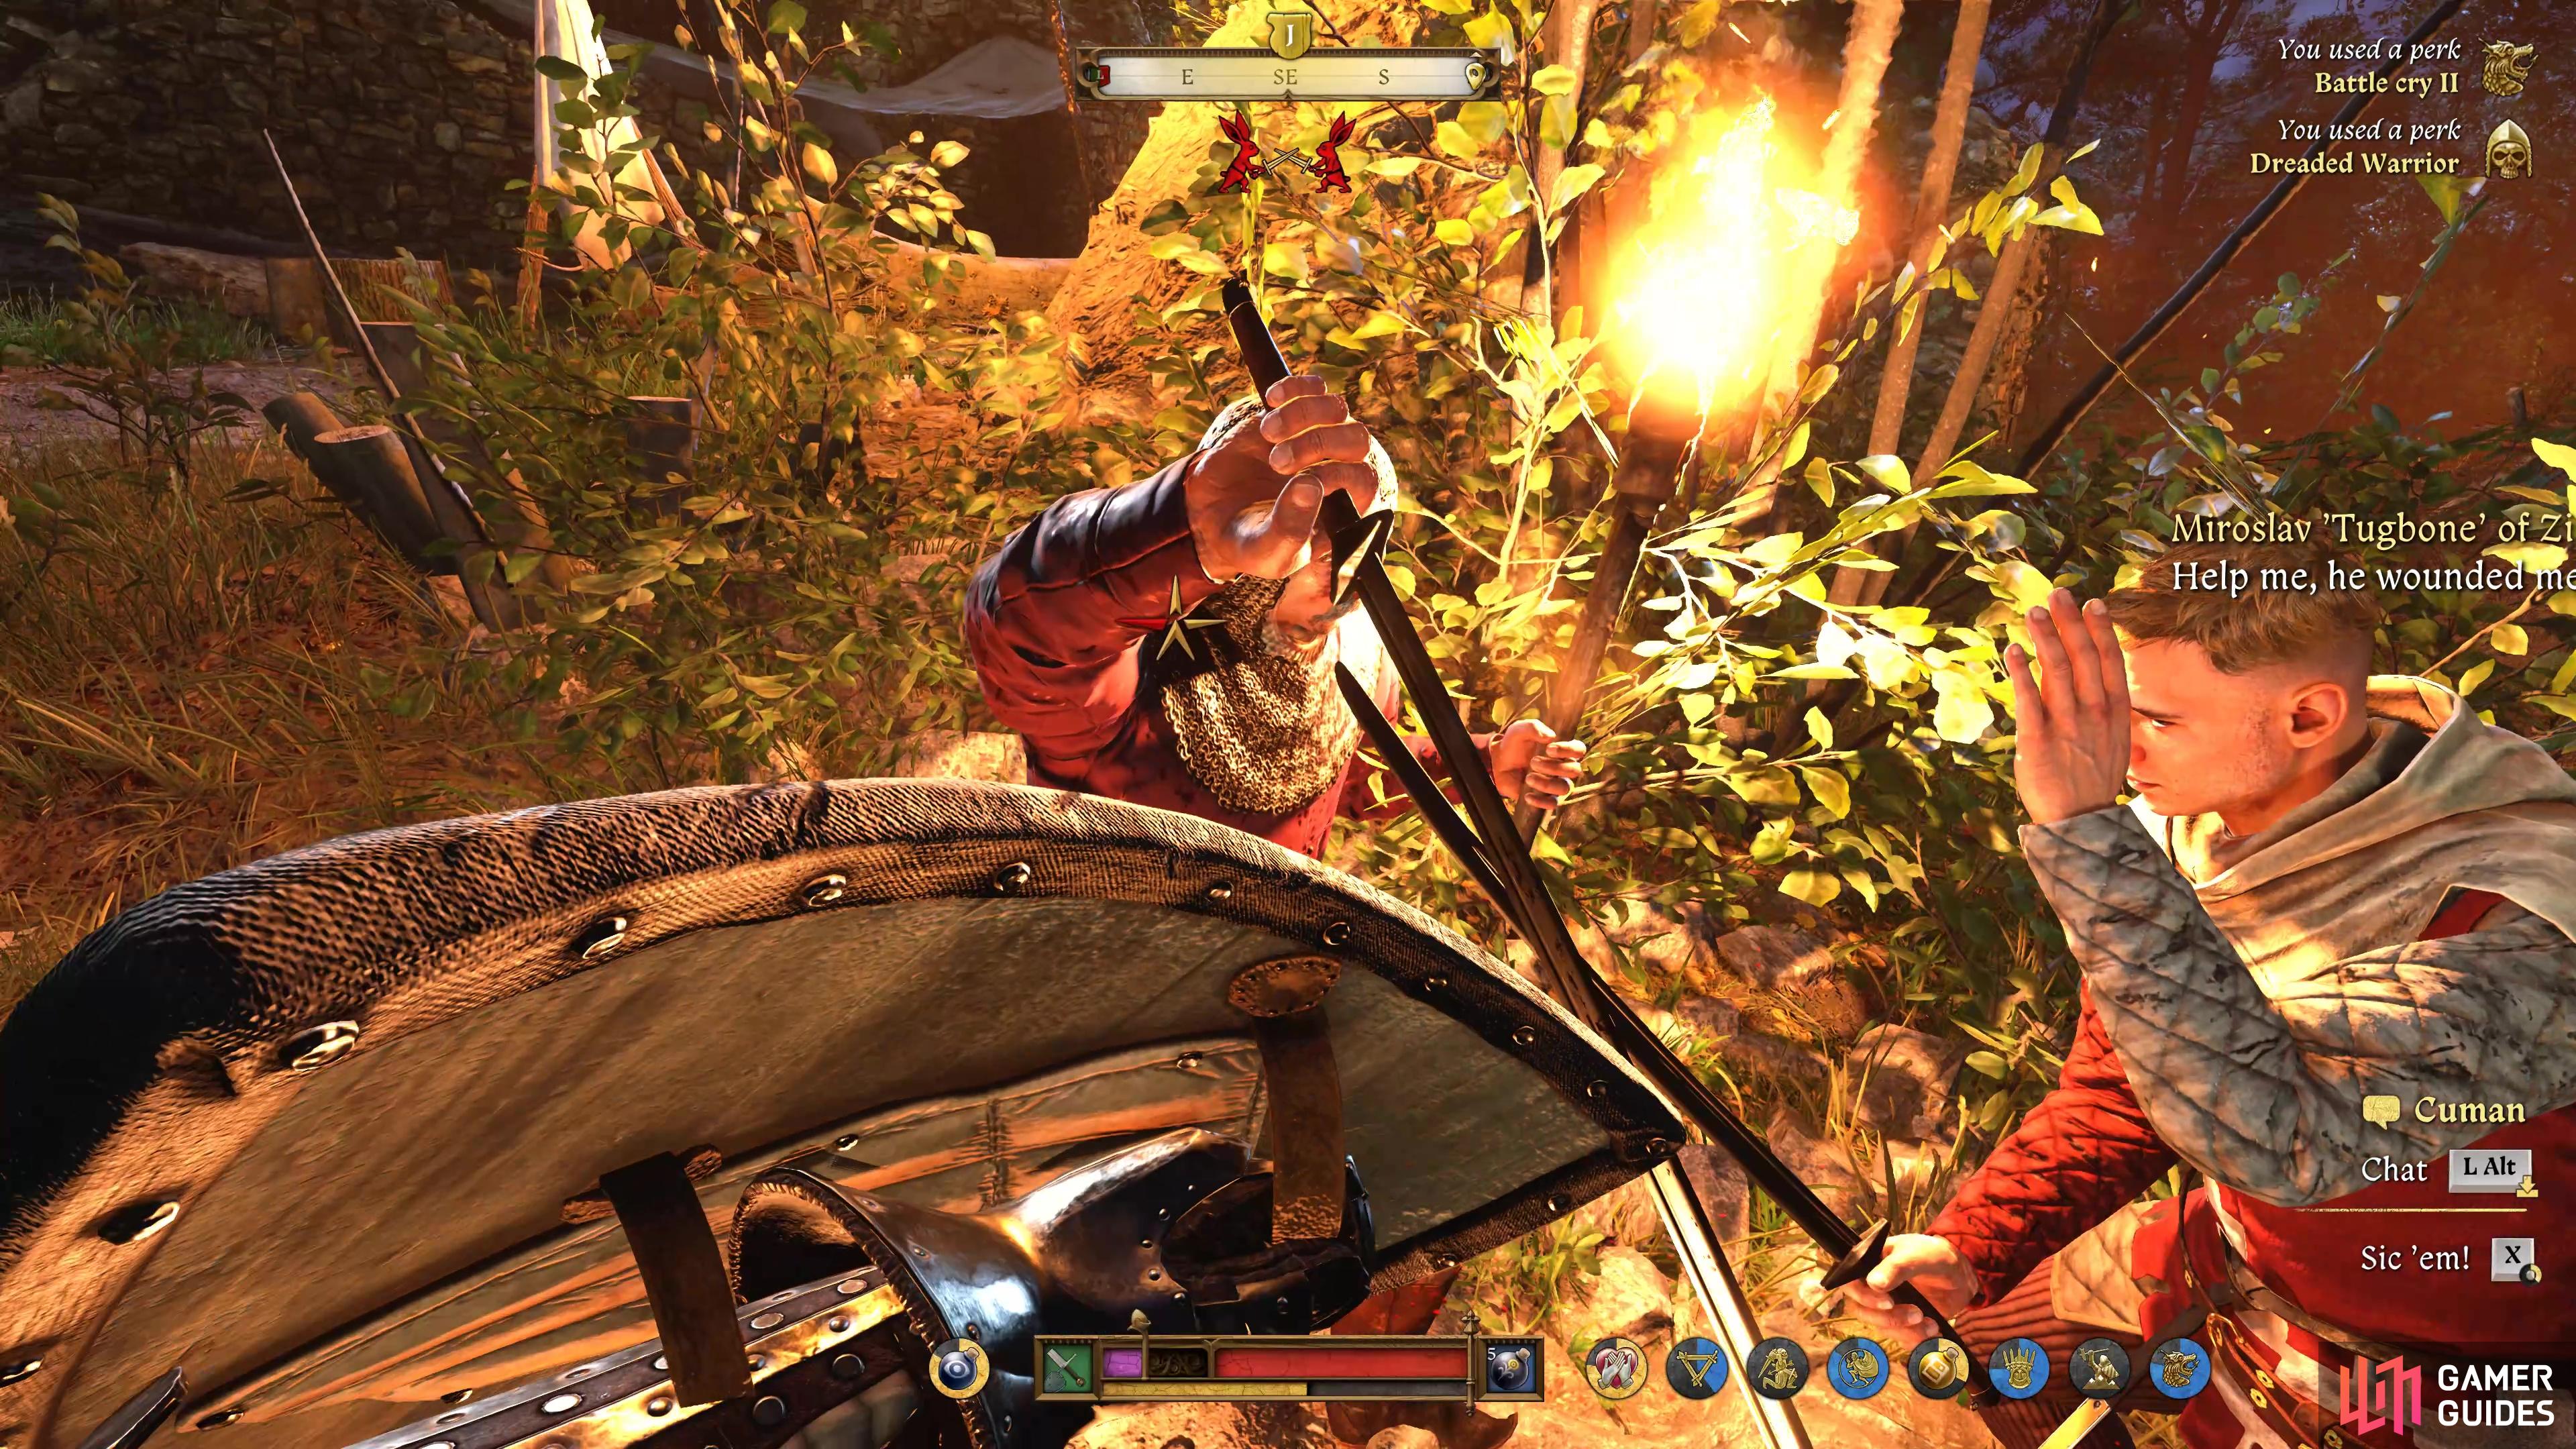
Now comes the tough part, you’ll need to deal with a large, heavily armed, group of Cumans, along with attempting to rescue Jan’s brother, Matthew. Attacking during the day is almost suicide, so encourage Jan to wait until night and then you’ll have to decide whether you go charging right in, or convince him to let you go alone.
The easiest method by far is to go alone, sneak around the camp, and take the Cumans out one-by-one with Stealth Kills. Of course, you’ll need to make sure you have suitable attire to sneak around and a ![]() Dagger for Stealth Kills, you’ll also need to locate and free Matthew and hand him a weapon. Aim for the noisier route and Jan will go charging in, quickly leaving you alone to fend off a total of nine Cumans!
Dagger for Stealth Kills, you’ll also need to locate and free Matthew and hand him a weapon. Aim for the noisier route and Jan will go charging in, quickly leaving you alone to fend off a total of nine Cumans!
Should you opt for Stealth then, chug a ![]() Nighthawk potion if you have one to make it easier to see at night and then begin by sneaking around the ruins to the left, and you’ll spot the first Cuman standing guard, toss a stone to get him to turn around and then Stealth Kill him, leaving the body in the bushes nearby. Once this is done, sneak into the camp and you’ll find two of the Cumans sleeping, you can deal with the one on the right easily, but the one on your left will cause the Cuman standing guard over Matthew to notice, so toss a stone (when the other Cuman patrolling has moved on) and Stealth Kill him first (hiding the body after).
Nighthawk potion if you have one to make it easier to see at night and then begin by sneaking around the ruins to the left, and you’ll spot the first Cuman standing guard, toss a stone to get him to turn around and then Stealth Kill him, leaving the body in the bushes nearby. Once this is done, sneak into the camp and you’ll find two of the Cumans sleeping, you can deal with the one on the right easily, but the one on your left will cause the Cuman standing guard over Matthew to notice, so toss a stone (when the other Cuman patrolling has moved on) and Stealth Kill him first (hiding the body after).
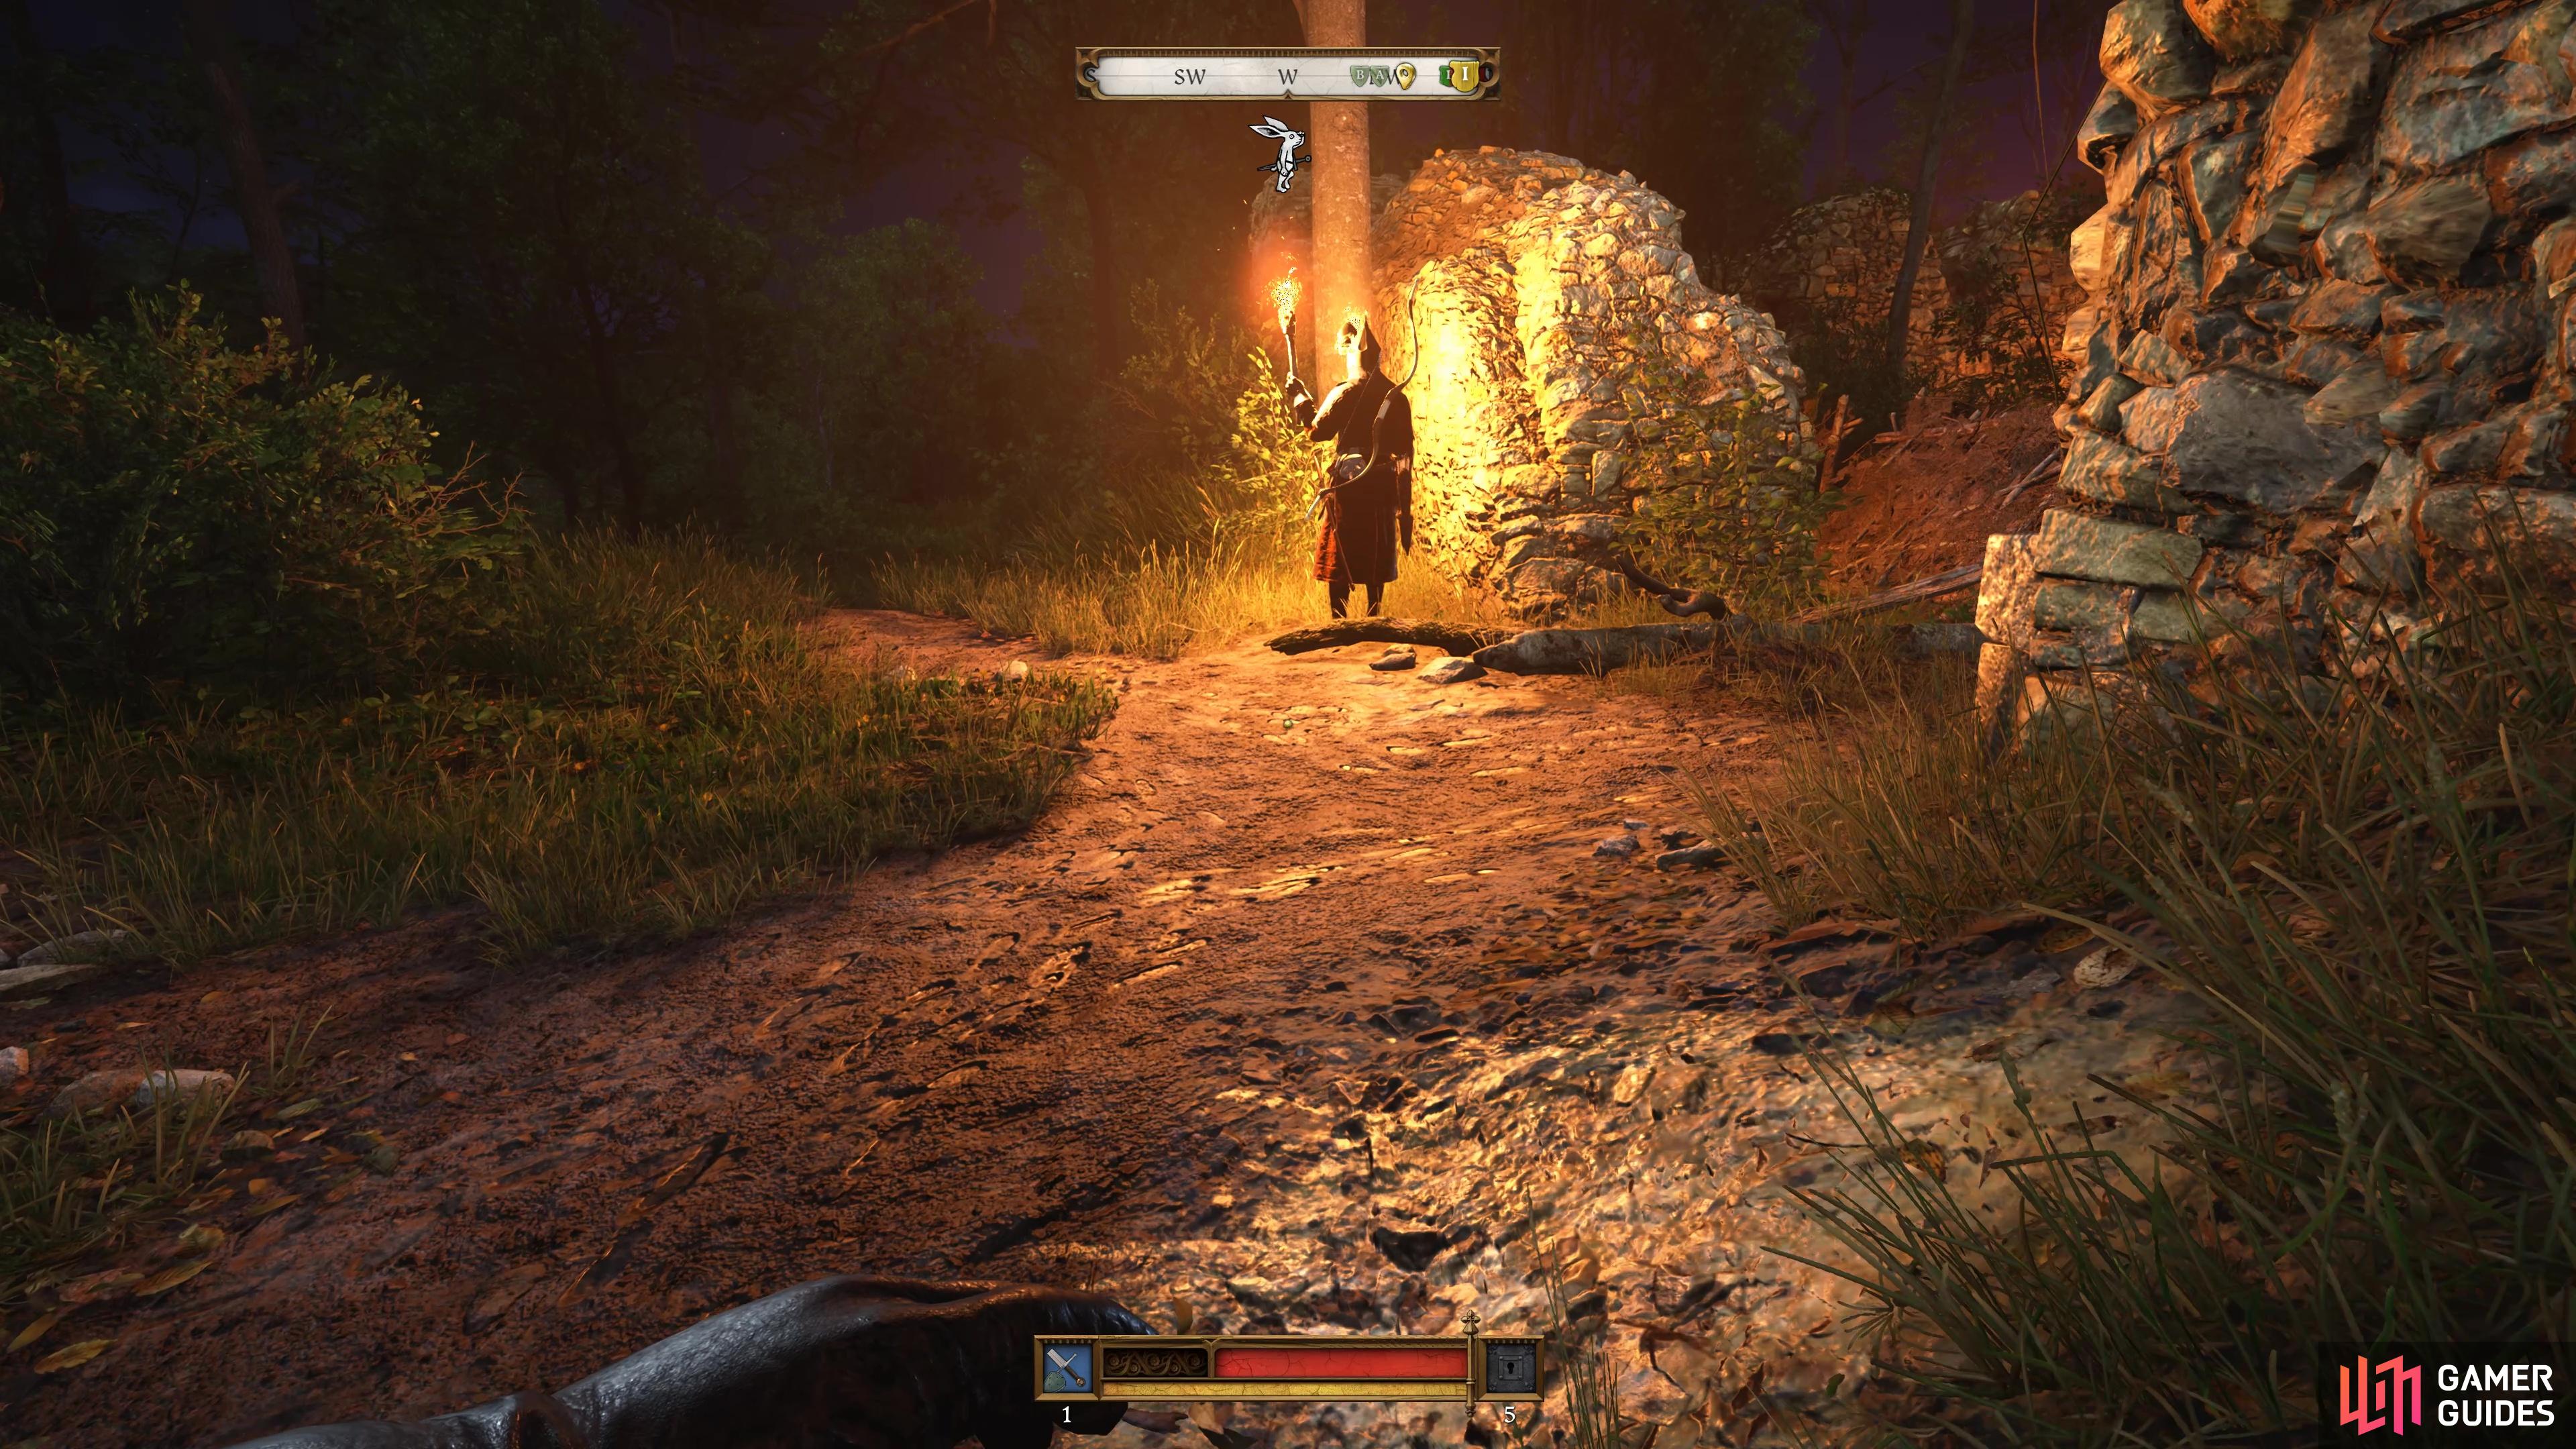


(1 of 5) Start by heading around the left side of the ruins and stealth kill this Cuman.
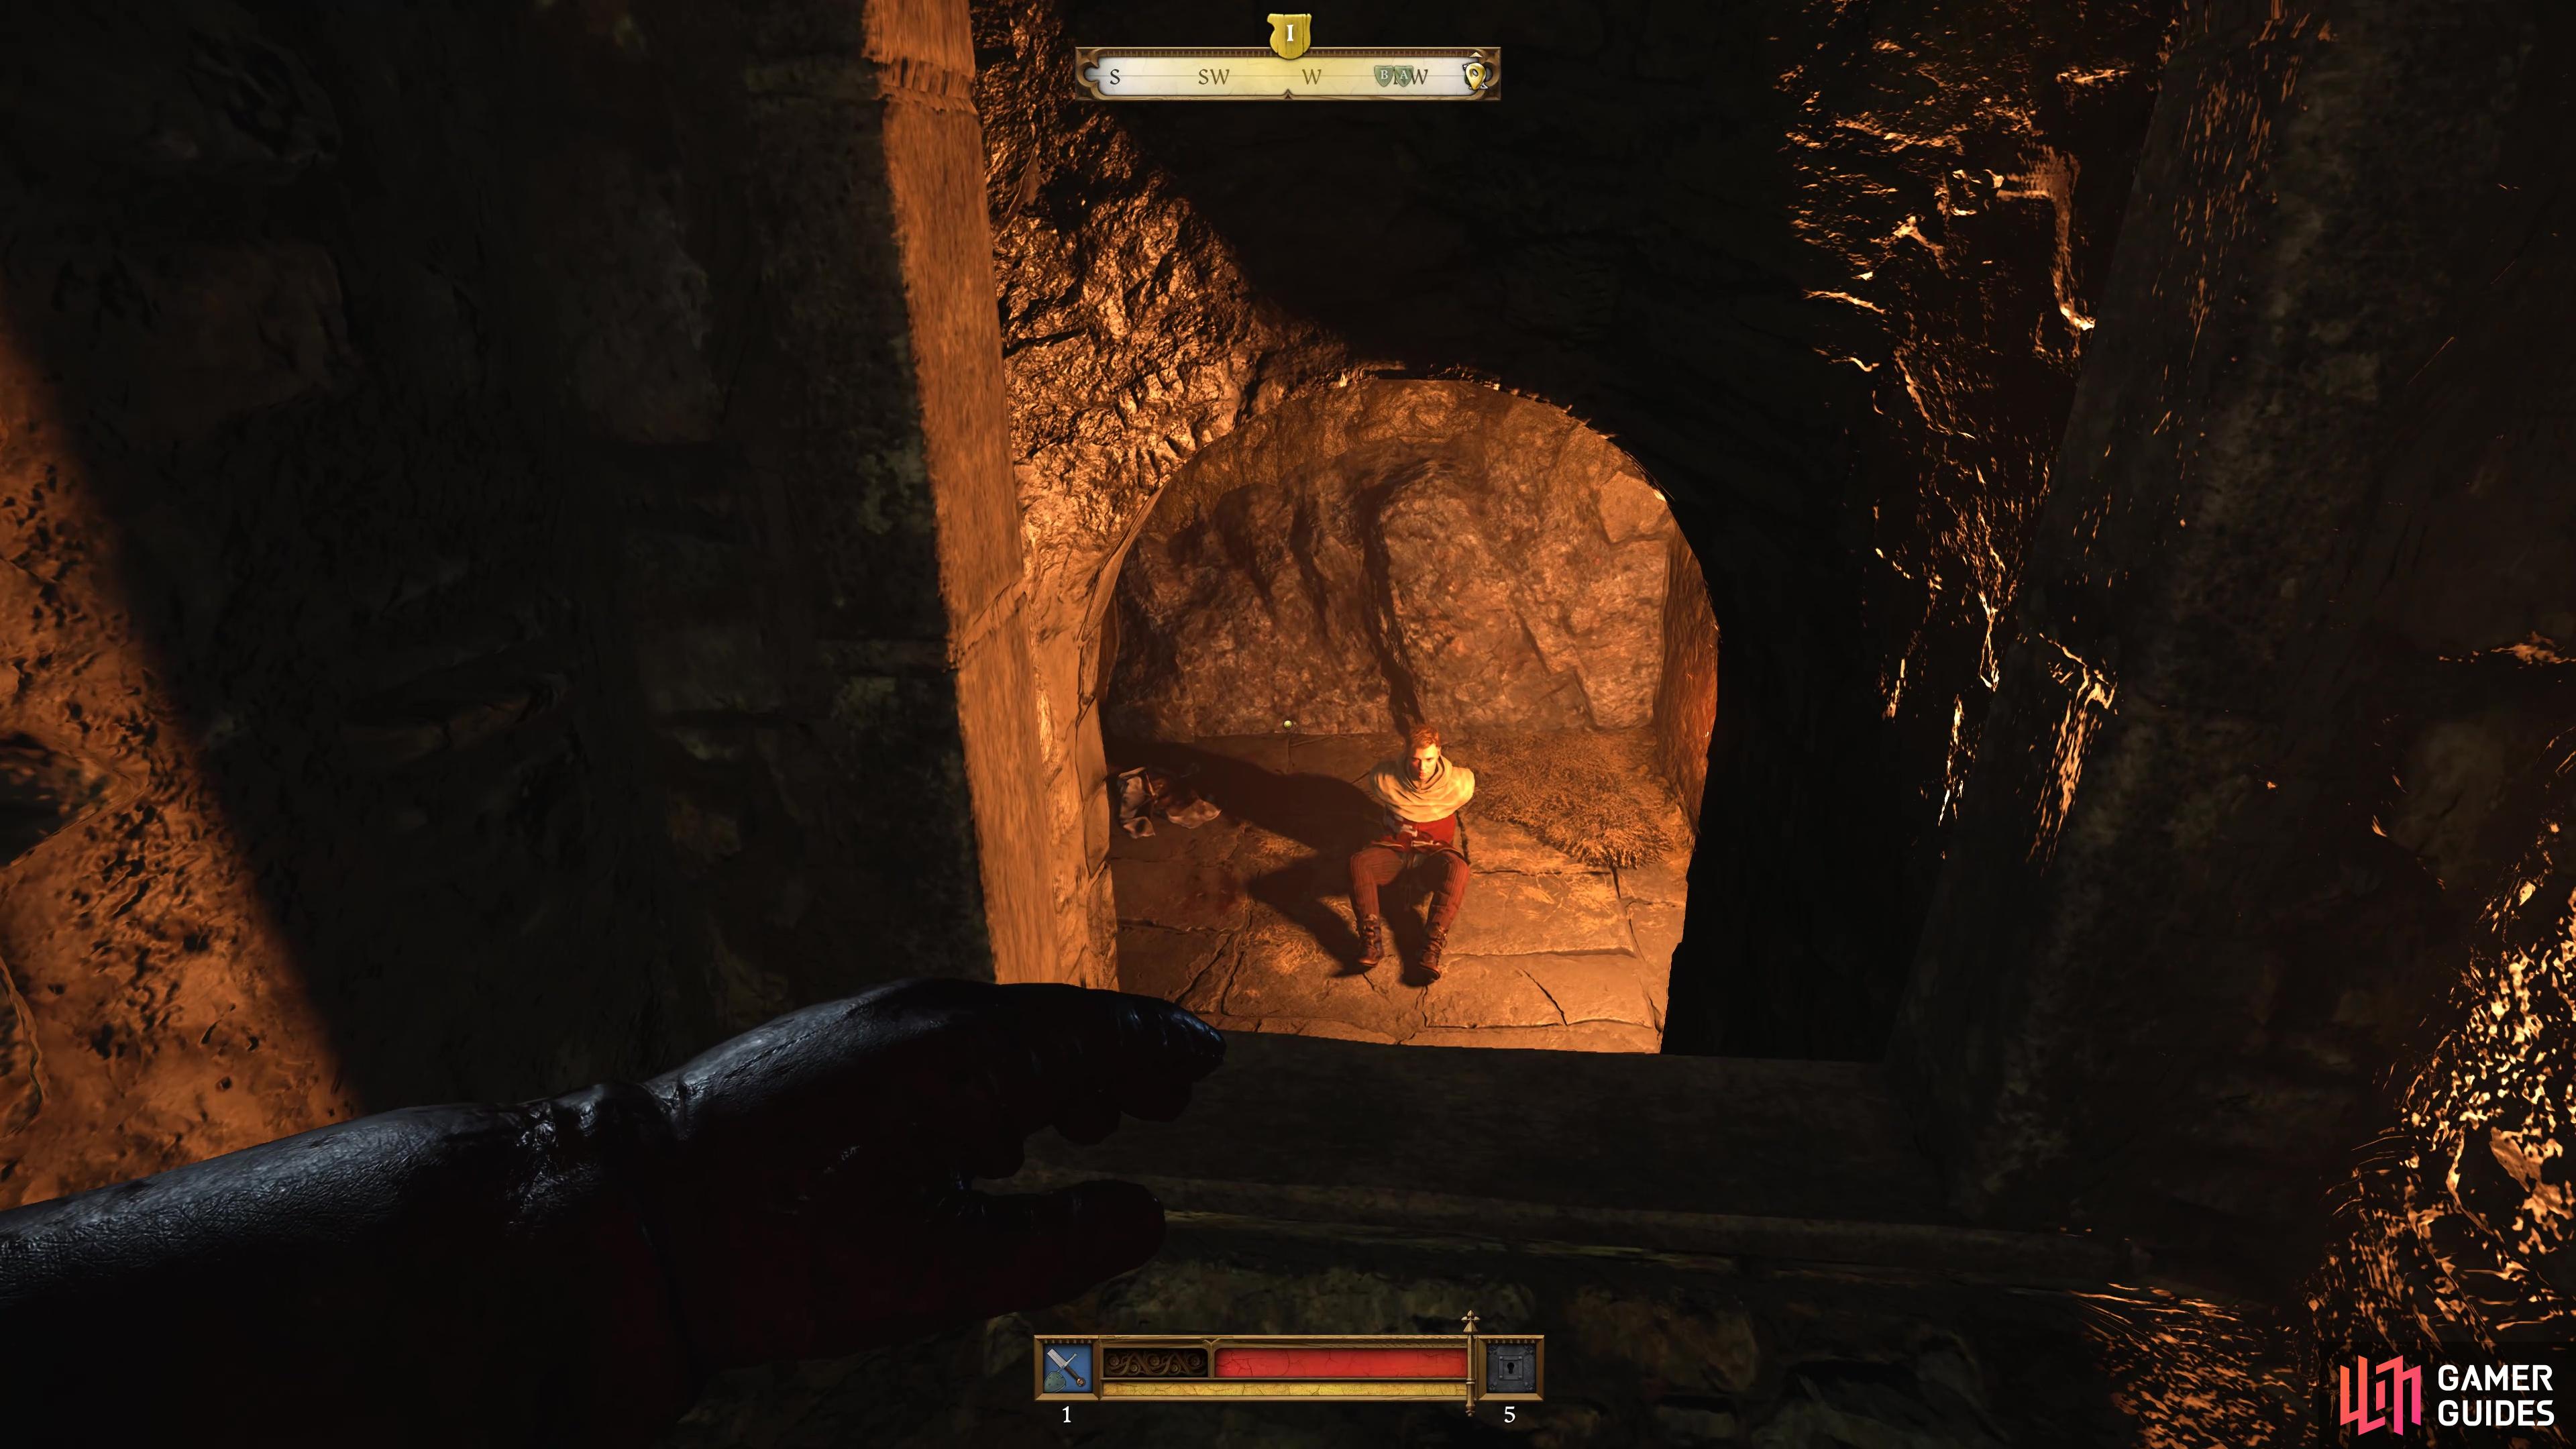
You can now Stealth Kill the other Cuman sleeping here without alerting anyone and can then make a choice. There’s one more Cuman that patrols the upper area, and you can wait for him to turn around and kill him, then proceed to kill the last two that are sleeping up there. Alternatively, go where you killed the Cuman standing guard, untie Matthew, and give him a sword and fight the last group in open combat.
Once the final enemy falls, a scene will trigger as the two brother reunite, as thanks for aiding him, you can learn a bit more about them and Jan will hand over 475 ![]() Groschens and ask you to come back later. Before you leave the area though, take the time to loot as much as you can, not only will you most likely find some upgrades to your armor, but a lot of their gear sells for a tidy sum, so load it all on your horse and get ready to depart.
Groschens and ask you to come back later. Before you leave the area though, take the time to loot as much as you can, not only will you most likely find some upgrades to your armor, but a lot of their gear sells for a tidy sum, so load it all on your horse and get ready to depart.
 Sign up
No Comments